Networking
Introduction
Network setup has two distinct meanings when applied to Corellium Applications. First, is how the various compute and server nodes that combine form the application are networked together which is documented here. Second, how the virtual network or networks created by the application operate and are managed which is documented in Virtual Networking.
Overview
As documented in Server Roles the corellium application can be configured to use multiple server nodes. When clustering Corellium software assumes that all servers nodes are all connected on a single Layer 2 network. For On-Prem Environments this means the 1GB ports on the Corellium servers should be connected to a common switch. For Private Cloud Environments all virtual servers must be in the same availability zone.
With in the Corellium Software the application uses two Layer 3 networks: the virtual device network and the control network. The control network is always bridged to the external network. Corellium can be configured to bridge, route, or NAT the virtual device network to the control network. Bridging allows users to easily access the Corellium user interface and their virtual devices. However, the virtual device network requires large blocks of IP addresses, so bridging and routing are not always practical or available. In addition to a large block the virtual device network has requirements on the netmask of addresses further limiting the cases where bridging is practical. See Virtual Networking for details on how these choices affect the virtual hardware devices run within the Corellium application.
Even when not configure to bridge the virtual device network to the external network, end users may need to access uncommon ports on the control network. Thus, a network administrator is generally required to set up most network configuration options. A network administrator may be required to unblock ports on the firewall to enable full access to public cloud environments that don't otherwise require setup.
Control Network
The control network is how nodes communicate with each other and the outside world. The controller node runs a web server listening on the traditional ports of 80 and 443. This web server is the one users use to access the Corellium UI. The IP address assigned to each node must be static and fixed at the time Corellium is configured since Corellium discovers and identifies itself through these IP addresses.
Each Corellium server needs a static IP address, a netmask, and optionally a gateway. The netmask determines what Layer 3 network the server will be on. The gateway allows Corellium servers to reach external addresses. This is required if Corellium is on a different network than users or if virtual devices are required to be able to reach the Internet. Optionally, DNS servers may be specified to allow Corellium servers to access the Internet to download updates for virtual device firmware and Corellium software. All Corellium servers share the same netmask, gateway, and DNS Servers.
It is up to you to decide which IP addresses, netmasks, and gateways to assign to the servers on the network. We recommend placing Corellium on your main internal network for ease of configuration and access and configuring your DHCP server to honor a static reservation for the Corellium servers. To make things a bit easier, we’ve included the MAC Address in your Initial Networking Configuration and Passwords document.
Once you have determined which IP addresses to give the Corellium servers, you must make provisions for your users to be able to access the Corellium Controller Node.
First, users must be able to access the Corellium control network. This can be done by merely placing Corellium on the same network users use (e.g. your main internal network). If you wish to put Corellium on another network, you must configure the router on your main internal network to route packets to and from the Corellium control network to and from your main internal network.
For example, you could plug the router physically into both the Corellium control network and your main internal network. You would assign an IP address on the router on your main internal network and an IP address on the router on the Corellium control network.
Then you could enable IP forwarding on the router to transfer packets between the networks. This setup would work as long as machines on the main internal network use the router’s main internal network IP address as their gateway and you configured Gateway under Networking Information in Corellium to be the router’s Corellium control network IP address.
Second, users must be able to discover and access the Corellium Controller Node. If your organization has its internal DNS server, you could configure the DNS server to return the IP address of the Corellium Controller node when users request a certain domain name. You could also ask users to put the domain name into their /etc/hosts file or access the Corellium Controller Node by its IP address directly.
Virtual Device Network
The virtual device network is the network all the virtual devices are on. Our on-premises setups default to bridged networking where all the virtual devices are on a single network. The simplest way to configure the Corellium application is to have use an external DHCP server to assign the IP addresses for virtual devices. This could be your corporate DHCP server if you have directly connected the Corellium application to your corporate network. This has the drawback of having virtual devices get semi-random IP addresses that are not organized or memorable.
A more organized way to do it is to assign a specific range of static IP addresses to Corellium. As described above in Virtual Networking, virtual devices are assigned IPs from their project’s range of IPs. The projects themselves are assigned ranges based on the “Virtual Devices IP Address” setting described in Projects.
In addition to configuring the network range via the Virtual Devices IP address and Virtual Devices Netmask, a gateway can be configured to allow virtual devices to reach external addresses. If you are not putting the virtual devices on the same network as the users, the gateway will be required for users to access the virtual devices. If not and internet access for virtual devices is not required, then the gateway is not required.
Note that the gateway is not a “virtual gateway”. It is a gateway for virtual devices. The gateway is not a facility Corellium provides or configures. It is something a network administrator must provide and configure as its configuration must be specific to the network of each organization.
For similar reasons, Corellium also cannot provide DNS servers for virtual devices to use. If you are configuring the network for virtual devices to access the public Internet, you may simply use public DNS servers such as 1.1.1.1 or 8.8.8.8 for this purpose.
It is not required that the control network and virtual devices network be the same or be reachable from each other.
In static IP range mode, Corellium reserves the last IP address in the virtual device network, so it cannot be used as the IP address of the gateway for virtual devices.
It is up to you to decide which range of IP addresses you give to the projects. You can pick any range that does not conflict with your existing networks. However, you must make sure the range is large enough to accommodate all the projects you wish to create now and in the future. You must also make provisions for your users to access this network.
It is possible to place the Corellium virtual device network on the same network users use (e.g. your main internal network). This way, users could access the virtual device network, but you might be constrained on how large of a range you can assign Corellium.
If you wish to put the Corellium virtual devices on another network, you must configure the router on your main internal network to route packets to and from the Corellium virtual device network to and from your main internal network. For example, you could plug the router physically into both the Corellium virtual device network and your main internal network. You would assign an IP address on the router on your main internal network and an IP address on the router on the Corellium virtual device network.
Then you could enable IP forwarding on the router to transfer packets between the networks. This setup would work as long as machines on the main internal network use the router’s main internal network IP address as their gateway and your configured Virtual Devices Gateway under Virtual Device Static Networking Information in Corellium to be the router’s Corellium virtual device network IP address. Again, Corellium does not provide the router/gateway required to connect the virtual device network to your main network in static IP mode, nor can Corellium configure it for you.
We recommend assigning a /16 subnet for all of Corellium’s virtual devices and configuring your router to route packets between that network and your main network. For example, if you set the IP address for Corellium’s virtual devices to 10.11.2.0 with a netmask of 255.255.0.0, the first project will occupy the range 10.11.2.0 to 10.11.3.255. You could then assign your router the IP address 10.11.0.1 and place the Corellium control network within the range 10.11.0.2 to 10.11.1.255.
If you will have multiple installations of Corellium, they may not share the same virtual device IP range. In this case, each installation of Corellium must have its own range (though they may be on the same network).
Networking Mode Options for SA Clusters
The Virtual Device Networking Mode can be found when creating a new project. Existing projects' networking modes can be found within the project settings under the Projects tab.
Any Domain Administrator can configure networking options by going to the Configuration and Setup Page.
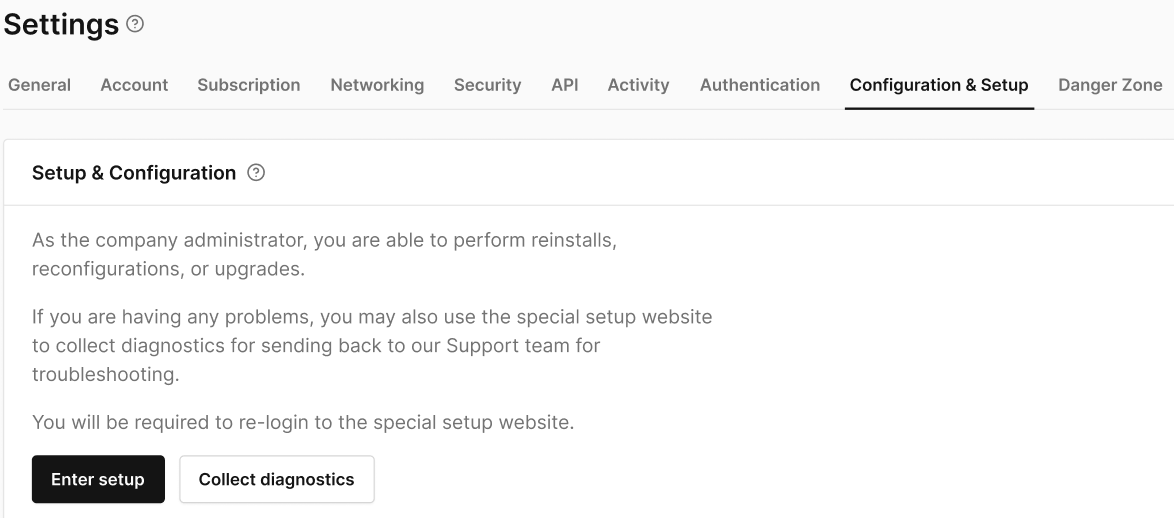
And entering the setup mode, the Virtual Device Networking Mode field will be displayed as a set of three buttons where you can select the desired networking mode.
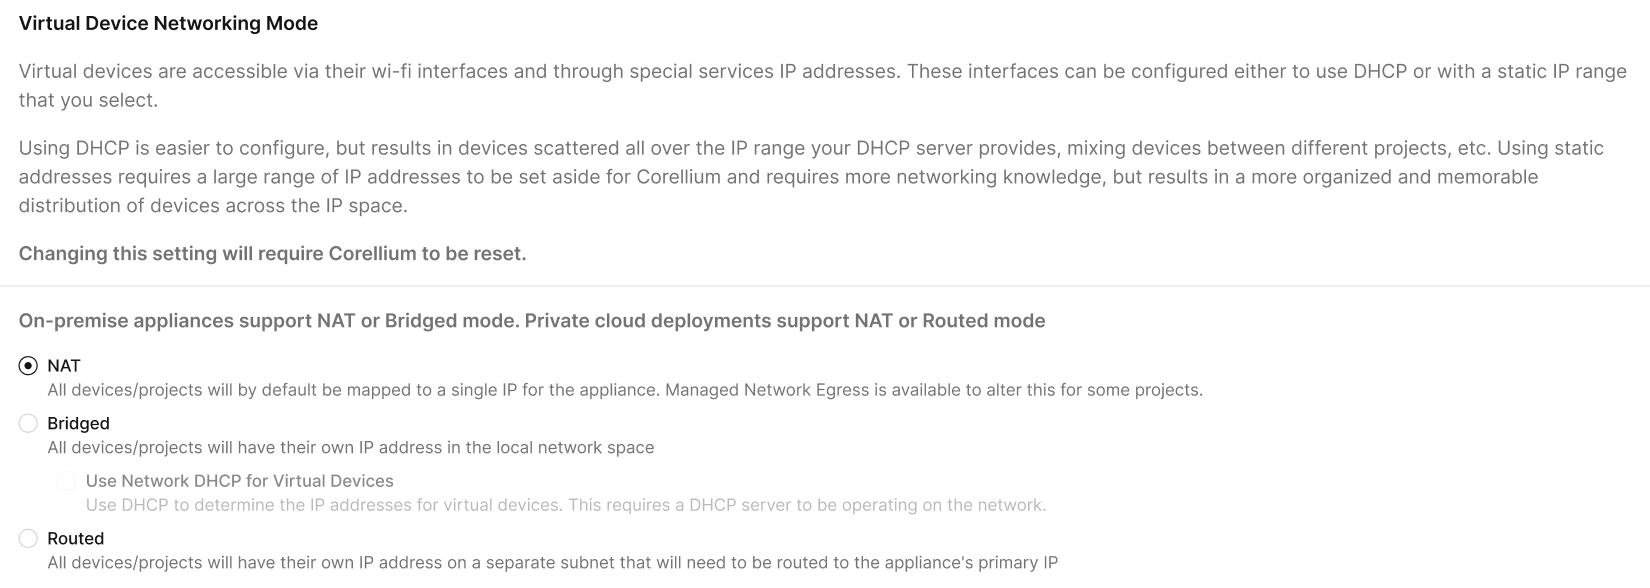
- NAT - Use case: Safe internet access without exposing VMs directly to the LAN.
- VMs do not get their own LAN IP (they sit on a private subnet).
- VMs can reach the internet via host NAT.
- LAN devices cannot directly reach the VM (unless port-forwarding is configured).
- Bridged - Use case: Makes VMs behave like physical machines on the LAN (ideal for labs, device testing, discovery protocols).
note
Not available on AWS-hosted environments.
- VMs get their own LAN IP address, typically assigned from the LAN DHCP server.
- VMs can reach the internet, and LAN devices can reach the VMs directly.
- Routed - Use case: Isolated testing and sandboxing, where you don’t want VMs communicating outside the host.
- VMs get their own private subnet only accessible by the host.
- No internet access unless routes are manually added.
- Only host to VM communication works.