SAML
SAML 2.0 is a widely adopted authentication protocol for single sign-on, supported by providers such as Microsoft Azure AD, Okta, ADFS, Ping Identity, and more.
To enable SAML-based login for Corellium, you only need to provide:
- IdP Metadata URL or XML File – With your IdP already configured, importing its metadata will automatically populate Corellium with information about your SAML configuration.
- User Attributes - The user attributes used in Corellium should match the values as defined in your IdP.
Corellium supports any Identity Provider that implements SAML 2.0. Once configured, users can authenticate into Corellium using your organization's existing SSO infrastructure.
Configure your IdP for SAML
Before configuring Corellium, ensure your IdP is configured properly based on what Corellium expects.
We assume you’ve already created users and defined user attributes in your IdP.
In the following example URLs, replace:
-
corellium_domainwith the full name of your Corellium domain. As an example, If your Corellium domain isexampledomain.enterprise.corellium.comyour full URL would be:https://exampledomain.enterprise.corellium.com/api/v1/auth/... -
your_idpwith the identifier of your IdP — for example,login.microsoftonline.comfor Azure AD. -
Identifier (Entity ID)
Example Identifier:
https://corellium_domain/api/v1/auth/providers/your_idp/spmetadata -
Reply URL (Assertion Consumer Service URL)
Example Reply URL:
https://corellium_domain/api/v1/auth/providers/your_idp/callback -
Sign on URL
Example Sign on URL:
https://corellium_domain/login
Configure Corellium for SAML
-
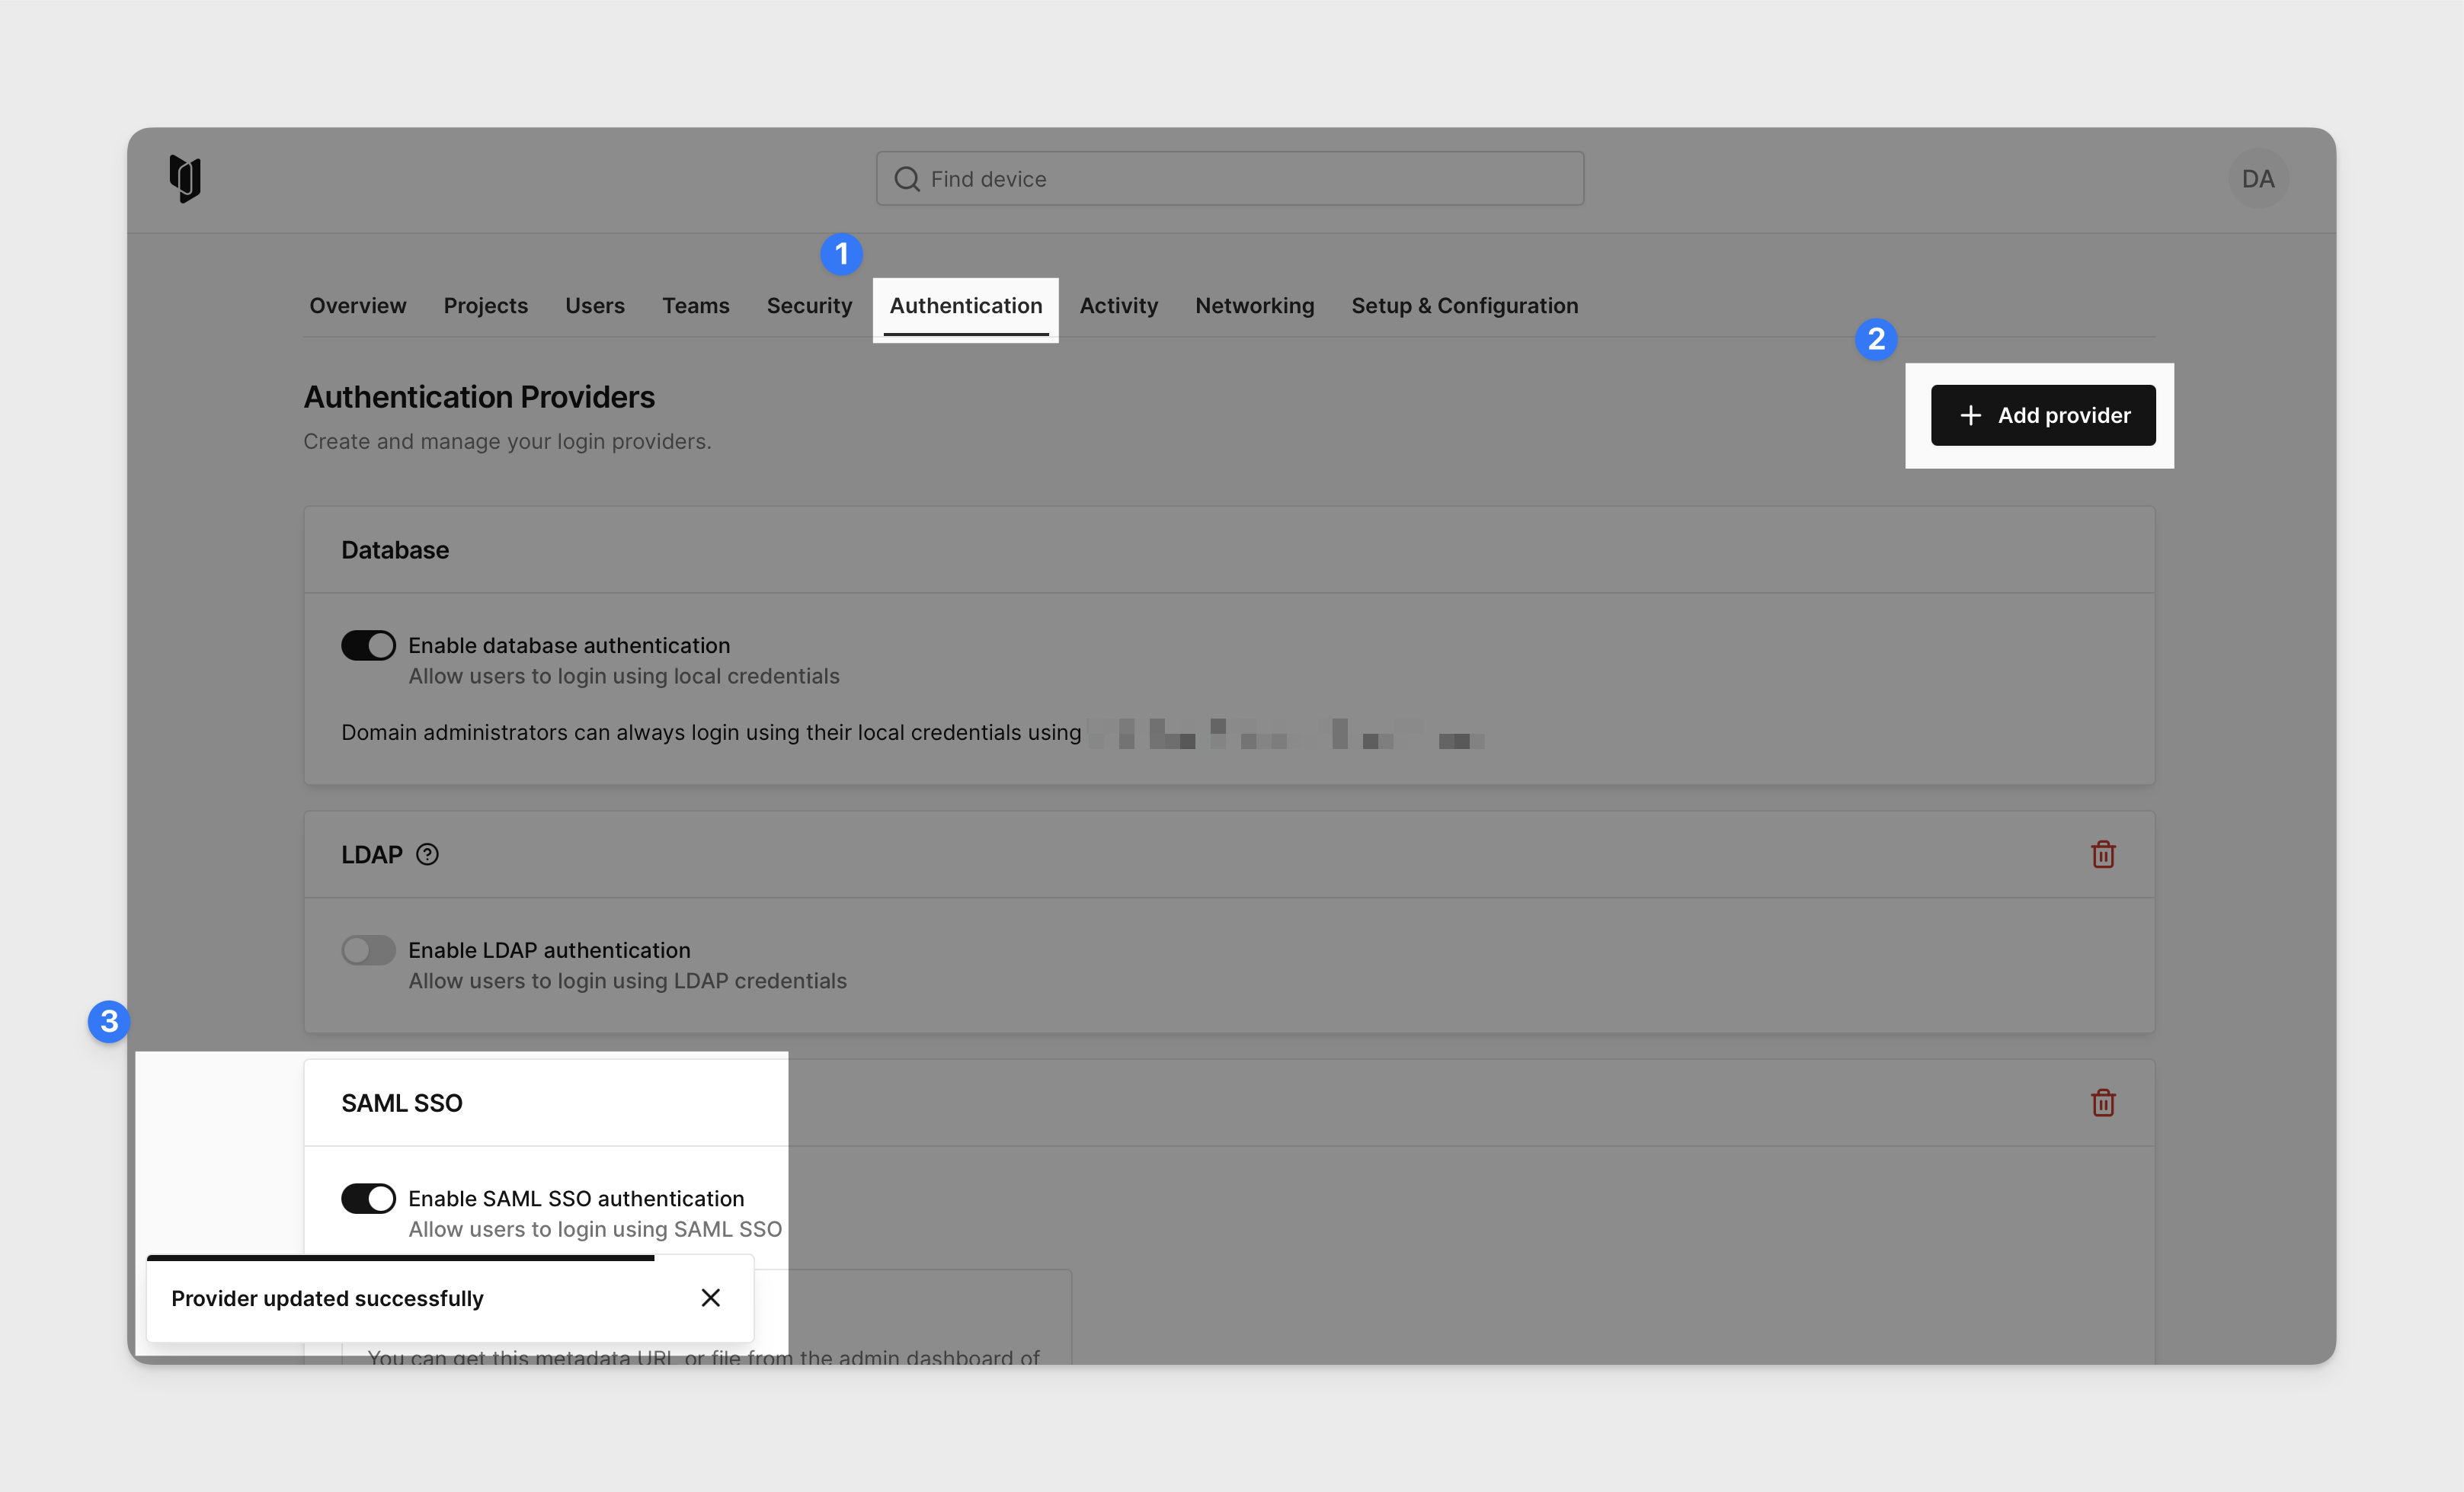
In the Corellium web interface, click the profile in the top right corner and in the dropdown menu select Admin. Navigate to the Authentication tab. Click Add Provider and select SAML SSO from the dropdown selection and enable SAML authentication with the toggle switch.
-
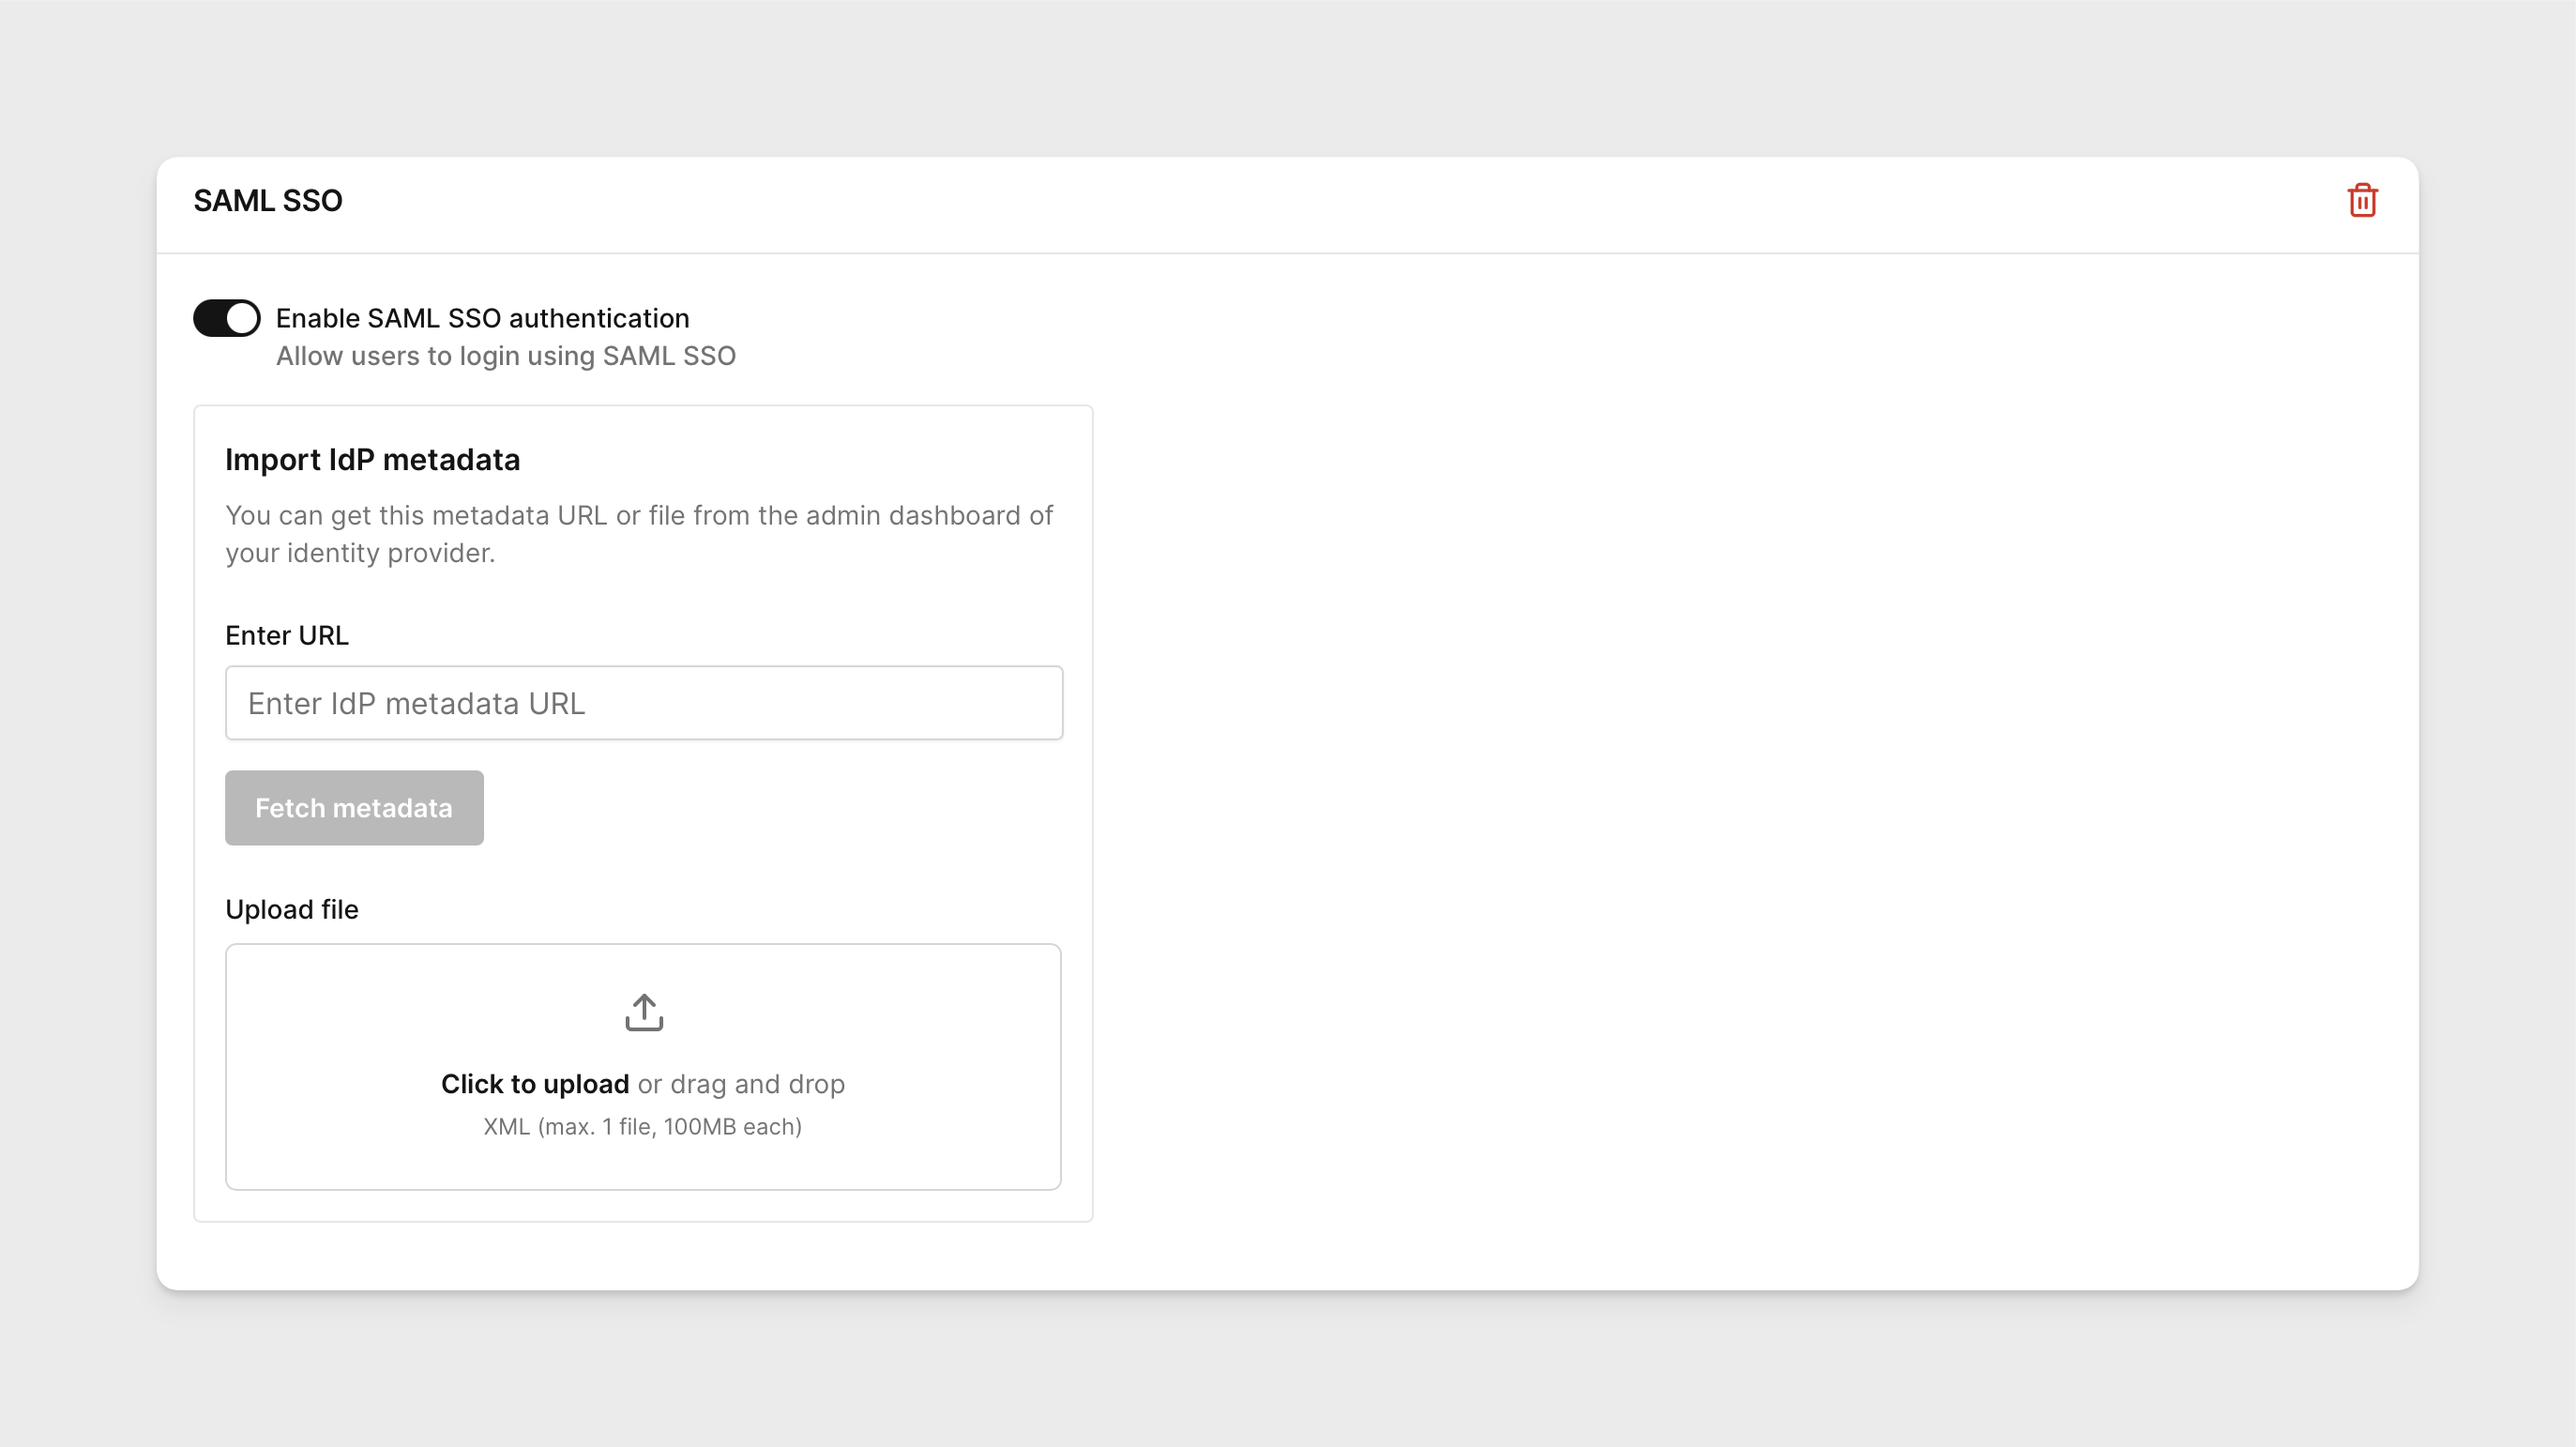
In order to populate the SAML information automatically in Corellium, upload an XML file of your IdP metadata or supply the URL used to access the IdP metadata.
If your IdP is set up properly, you should see all the fields under the tabs Setup SAML Authentication automatically populate with the respective values in the web interface.
-
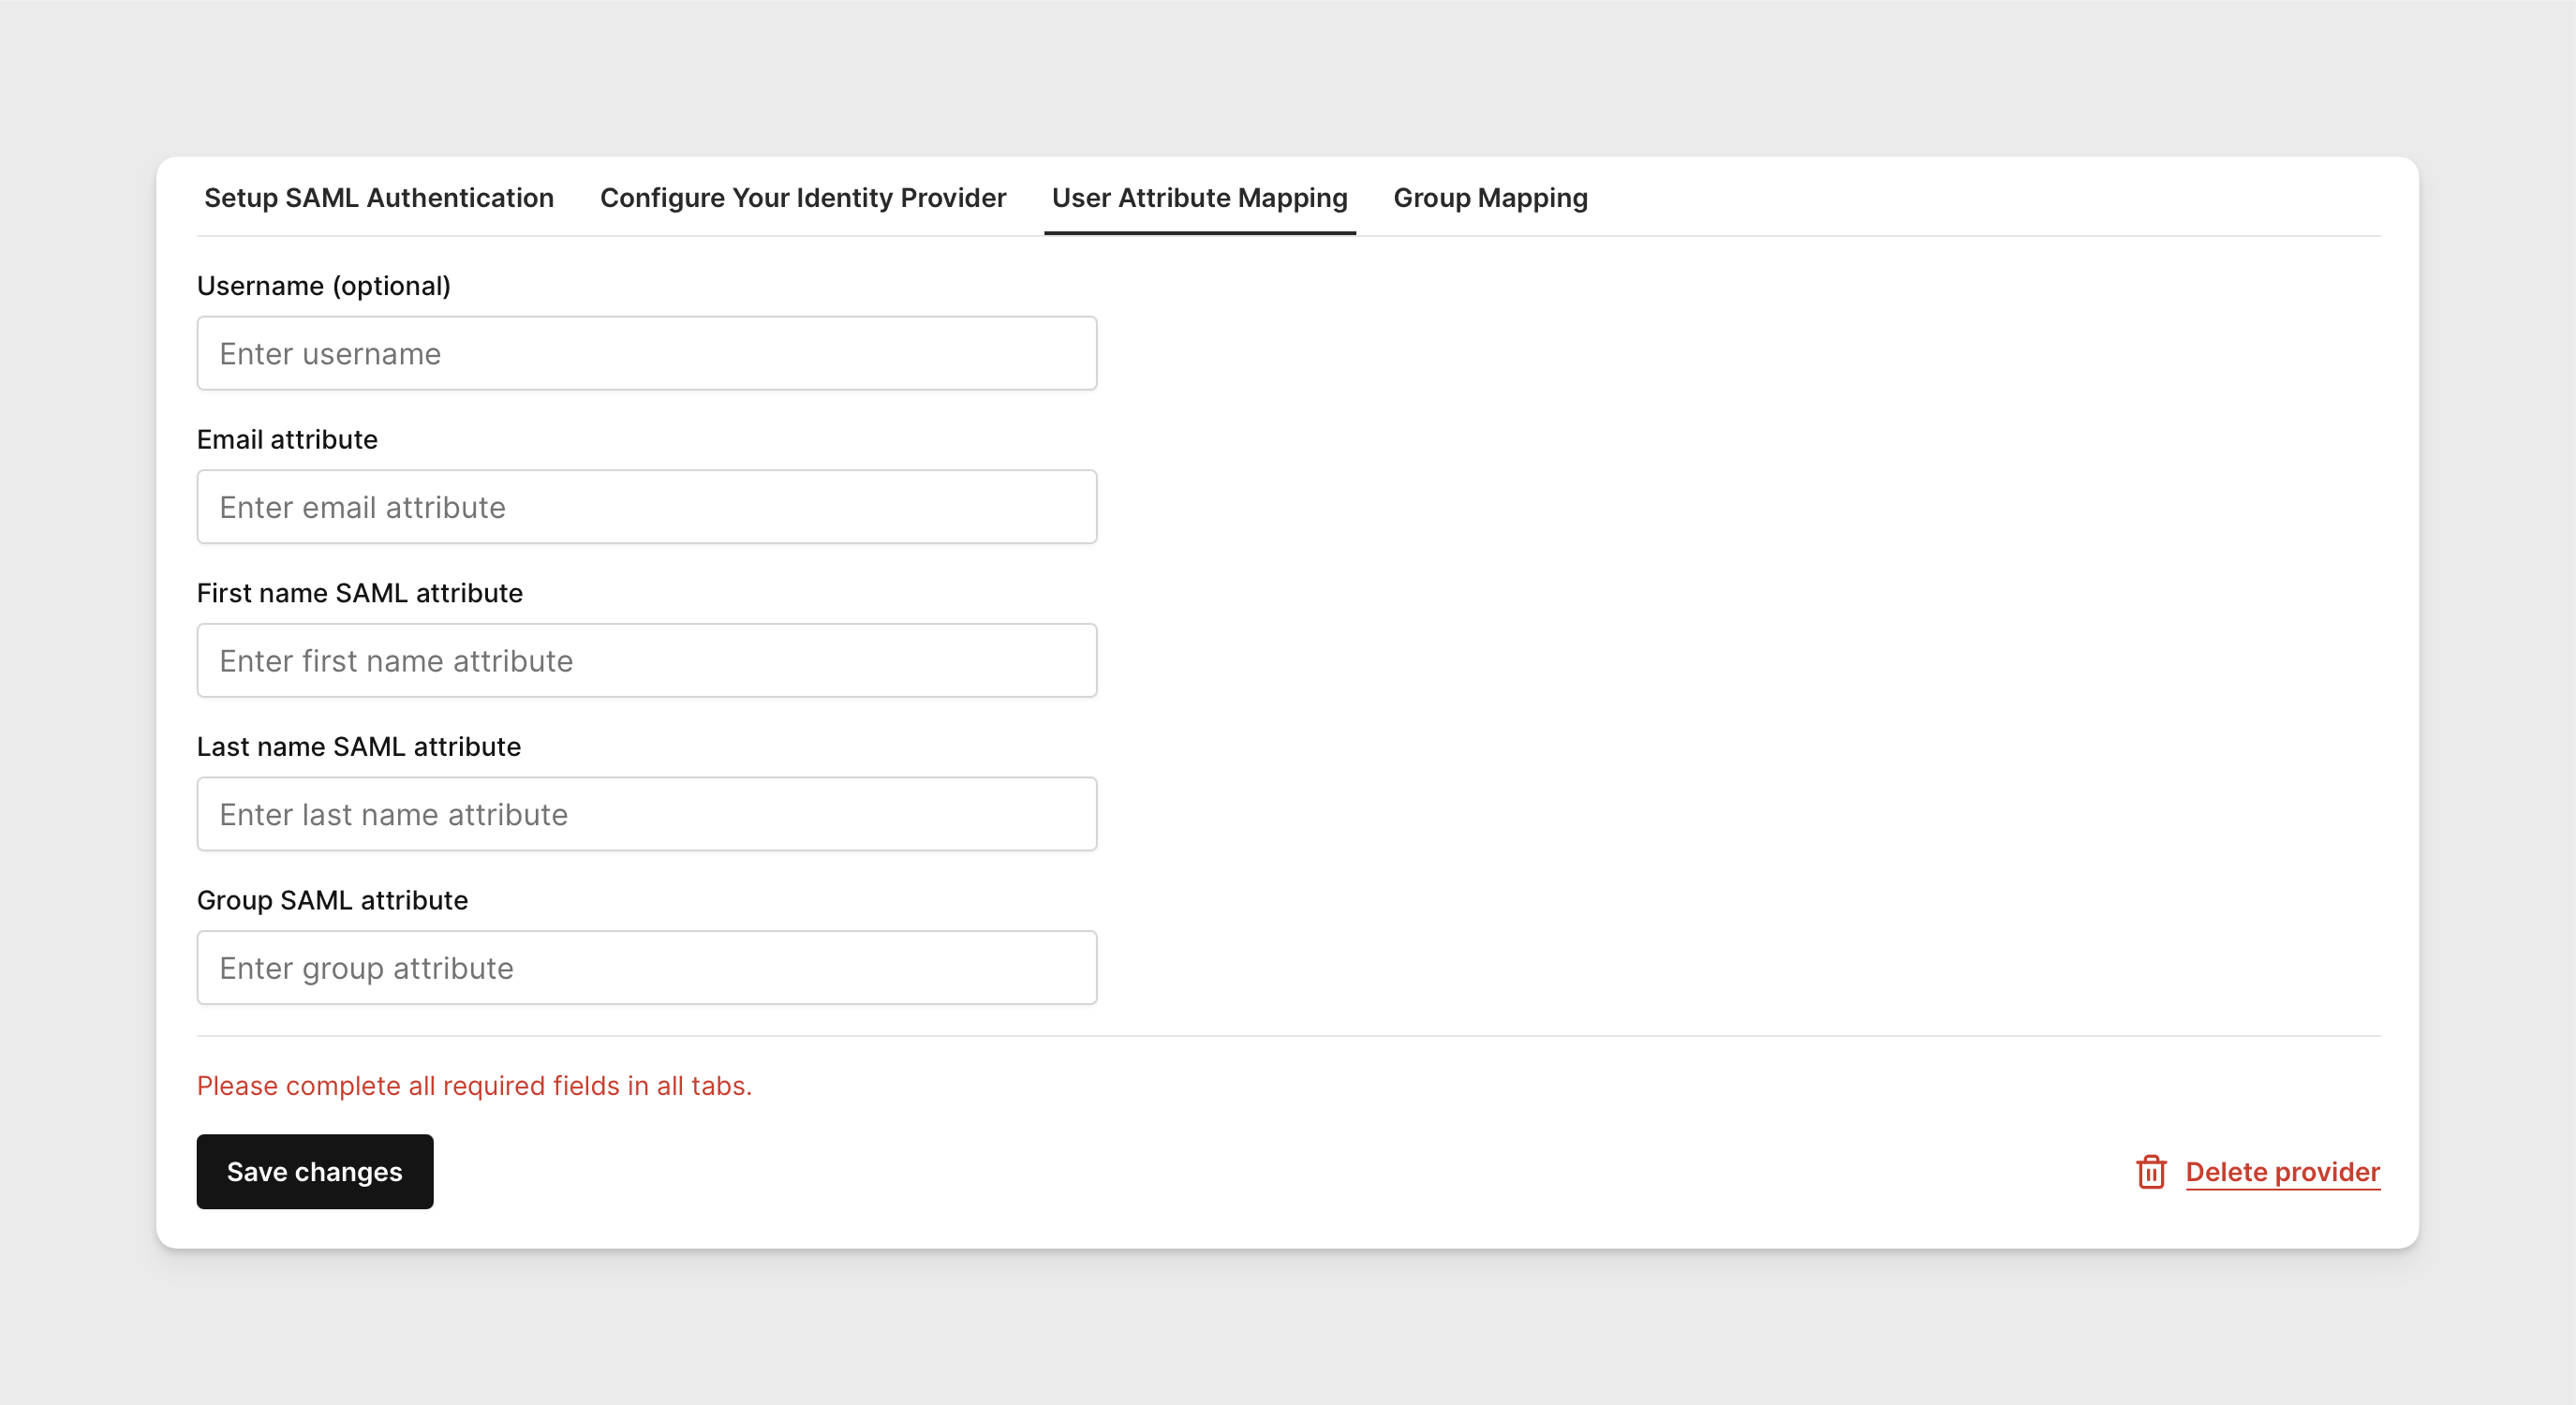
In the tab User Attribute Mapping, provide the user attribute values as they are defined in your IdP.
noteIf you do not match the exact values defined in your IdP, this will prevent users from logging in properly to Corellium when using SSO sign in.
-
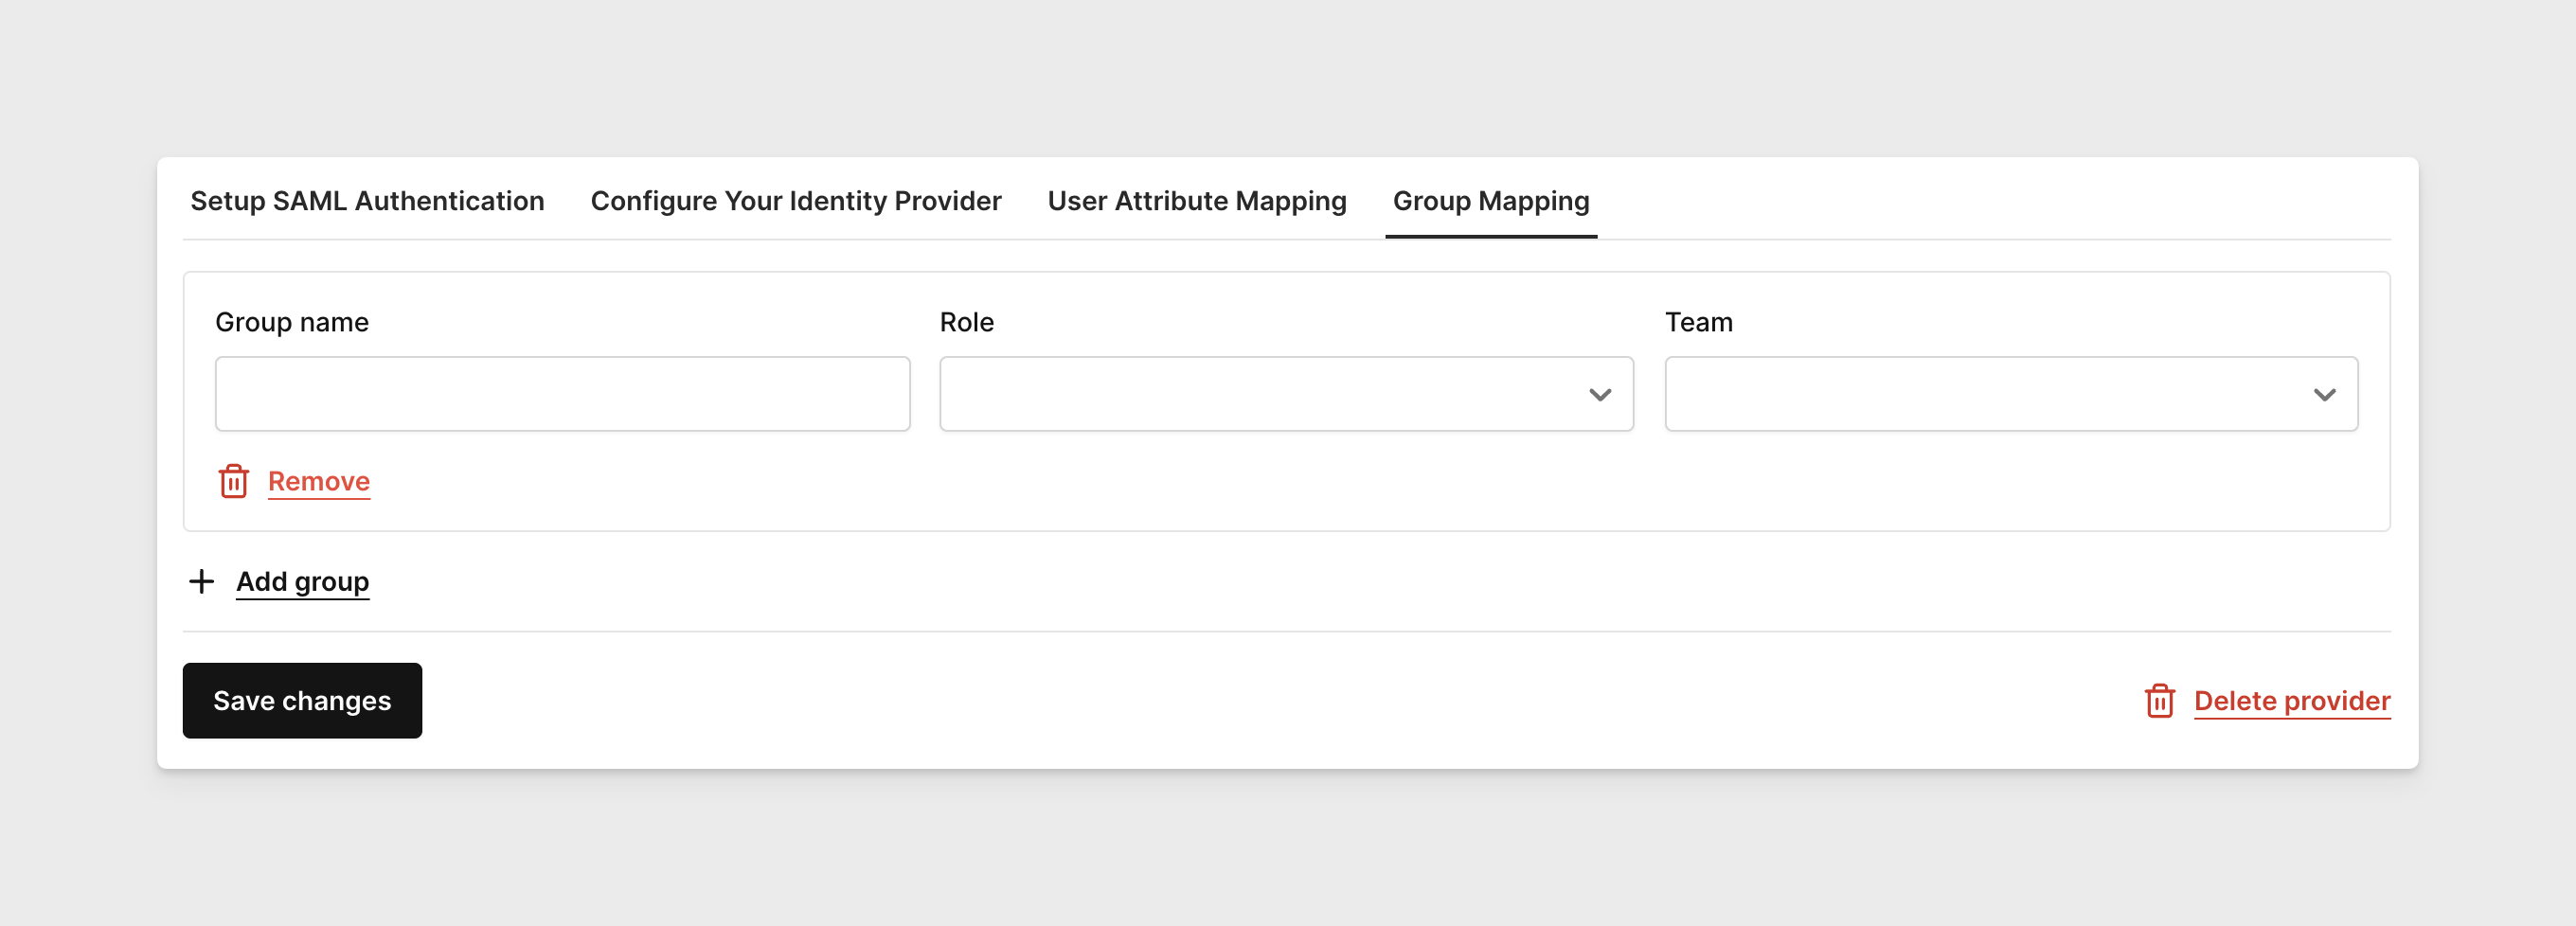
Group Matching is optional. If your SAML configuration includes group information, you can map each group to a specific role and team. Users who belong to those mapped groups will be automatically assigned the corresponding role and team in Corellium when they log in.
-
Click Save changes in the bottom left corner when finished with the configurations. Upon refreshing the page and clicking back to the Configure Your Identity Provider tab, you should see all fields automatically populated there.
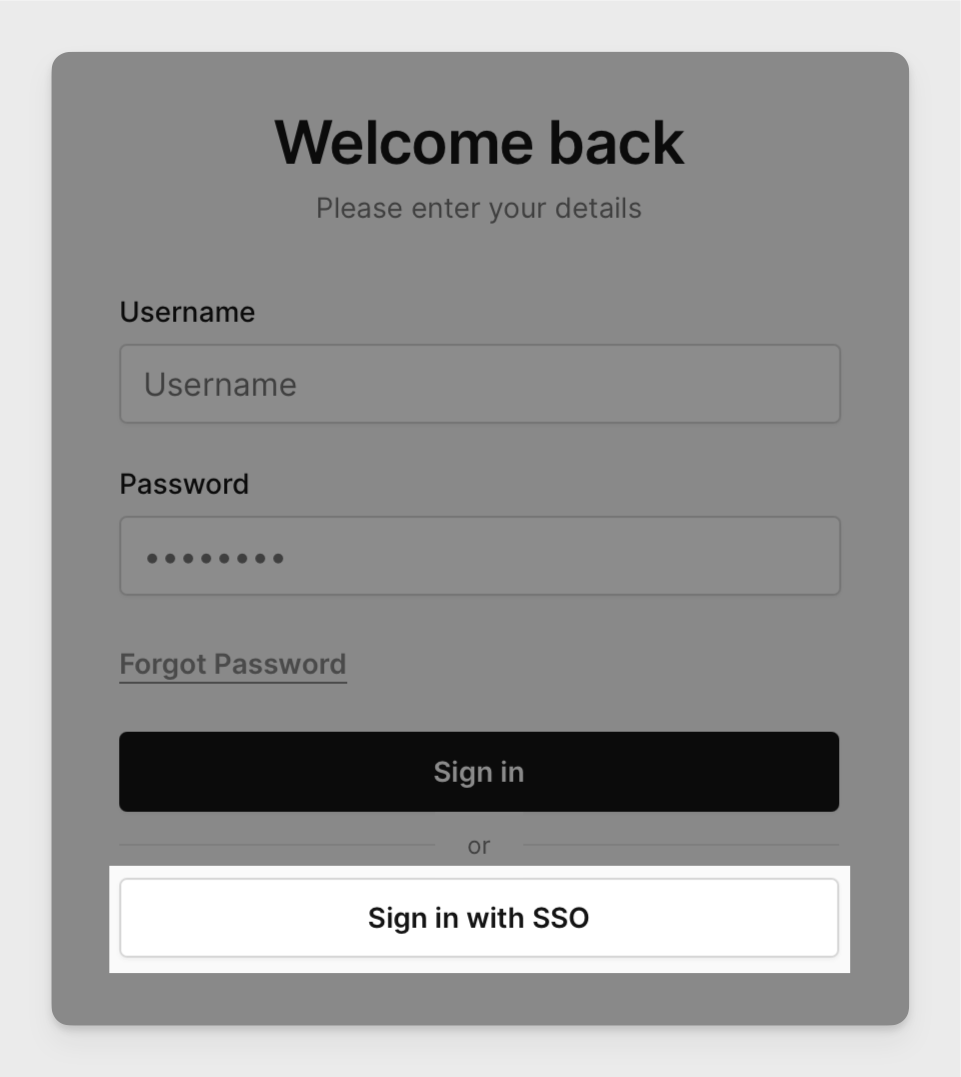
Log in with SAML
Once Corellium has been configured, users defined in your SAML configuration can log in using the Sign in with SSO button.
Once a user logs into Corellium via SAML authentication, their account will automatically be created in Corellium and assigned a role and team if group mappings are configured.