Creating Your First Device
Create a Device
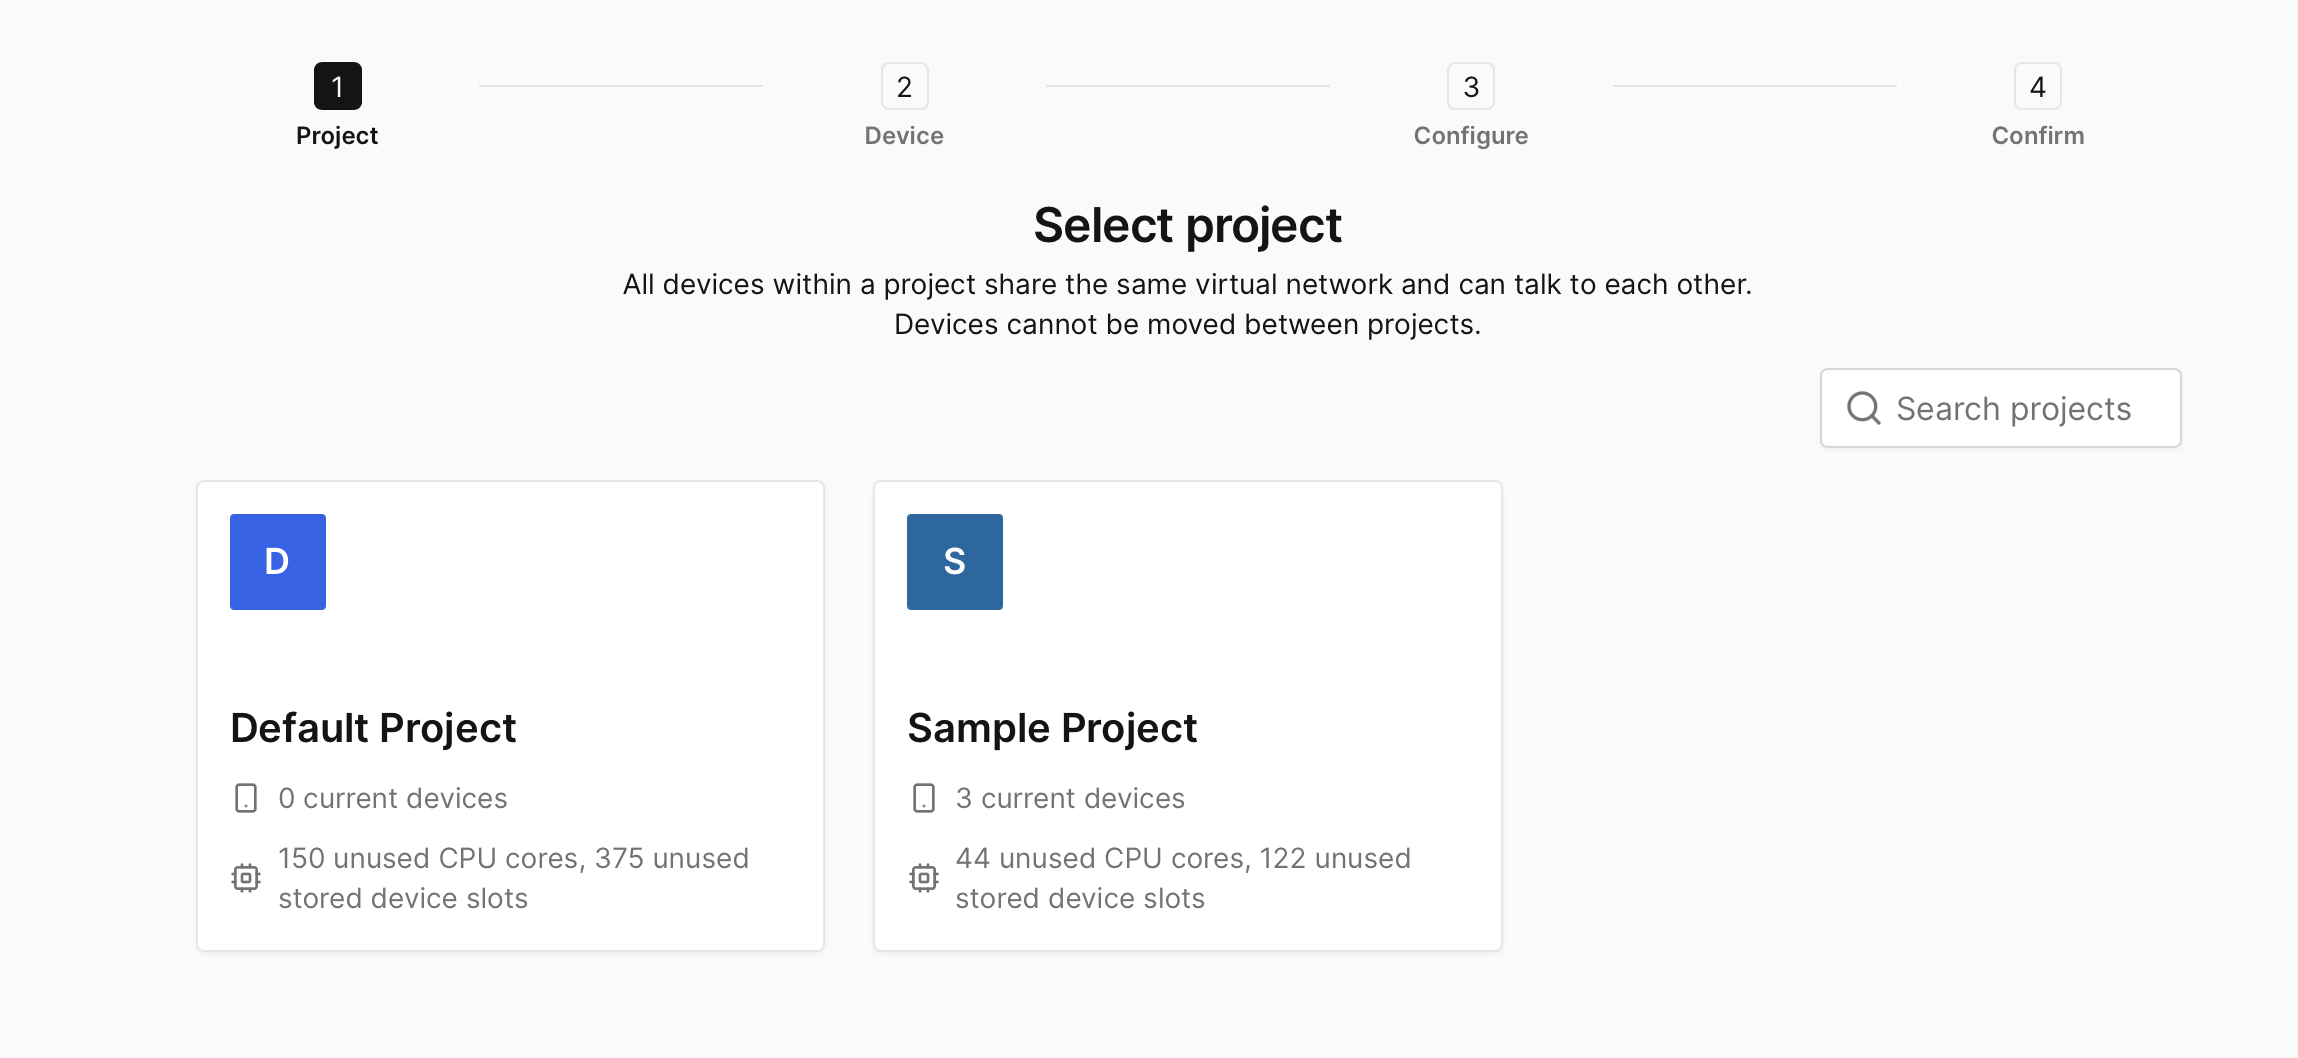
When you click Create Device, if you're an Enterprise user, you will first need to select a Project before choosing the device model.
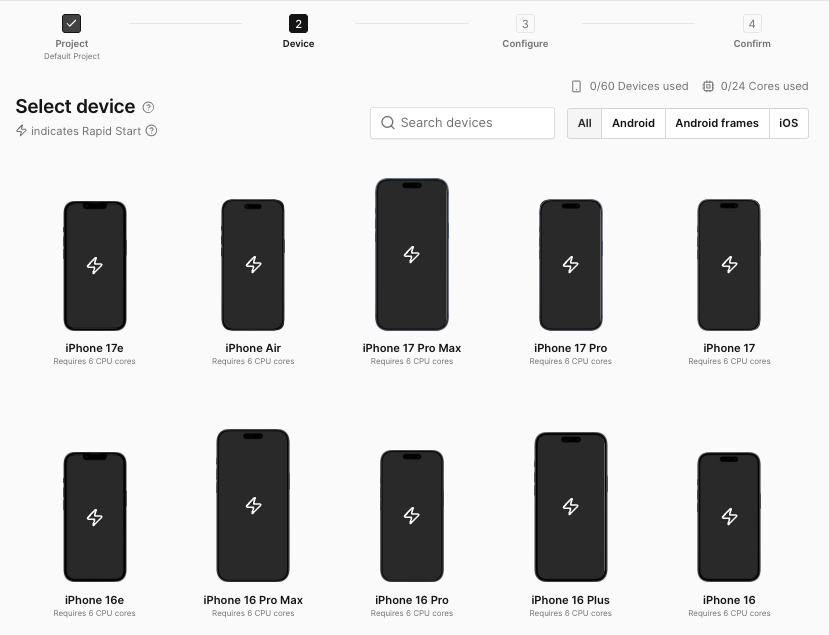
Next, you'll see a window with a list of preconfigured devices you can pick from, including iPhones and Android phones. If you see an iPhone with a zap icon like this, ![]() in the middle of the device screen, that means you can create a Rapid start device. Learn more about Rapid start devices. Let's create an iPhone 16 Pro Max for now.
in the middle of the device screen, that means you can create a Rapid start device. Learn more about Rapid start devices. Let's create an iPhone 16 Pro Max for now.
Next up, you can select your desired OS/Firmware version. Learn more about Firmware options. And also configure the primary storage for your device. Learn more about Primary storage options.
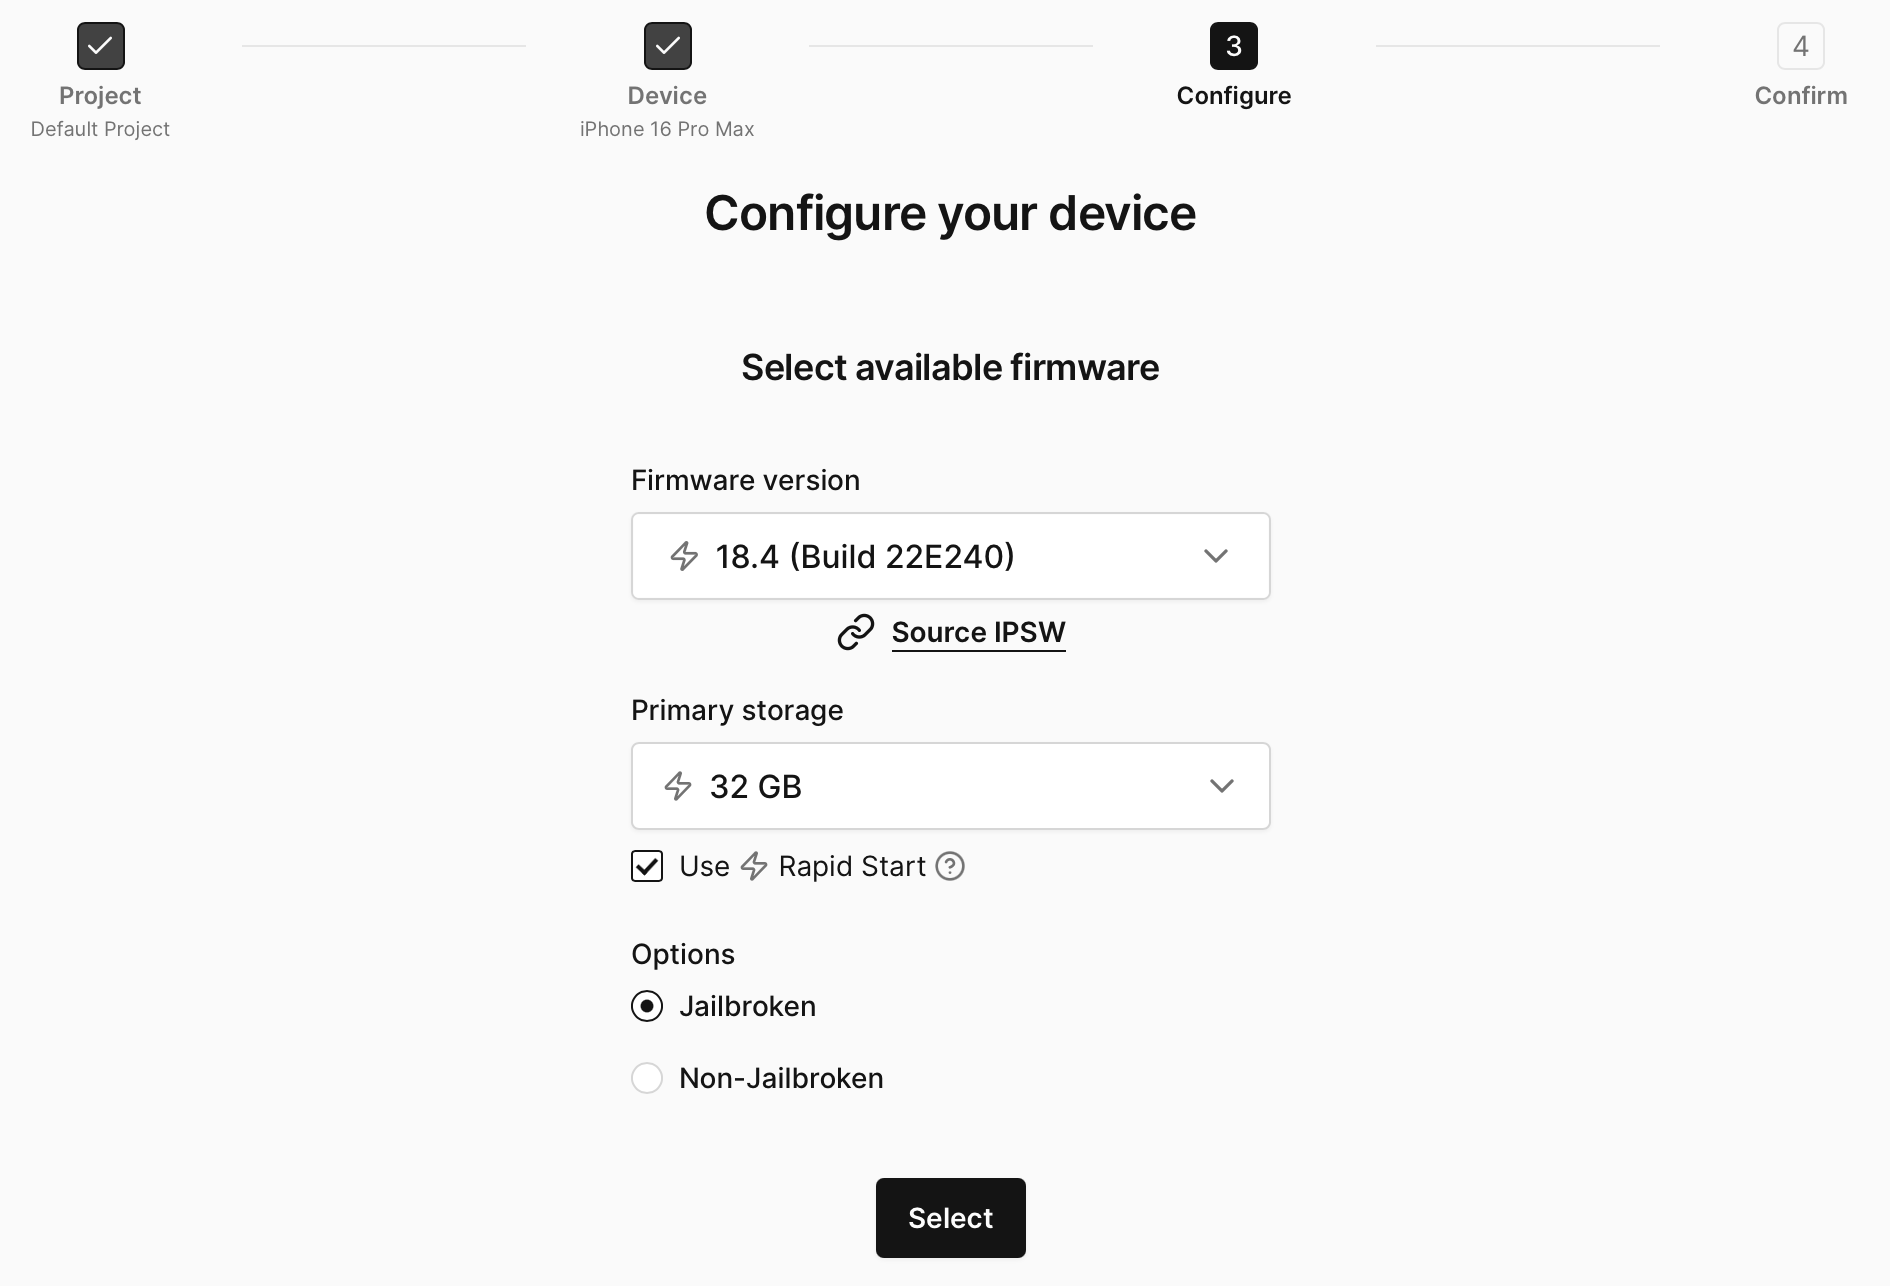
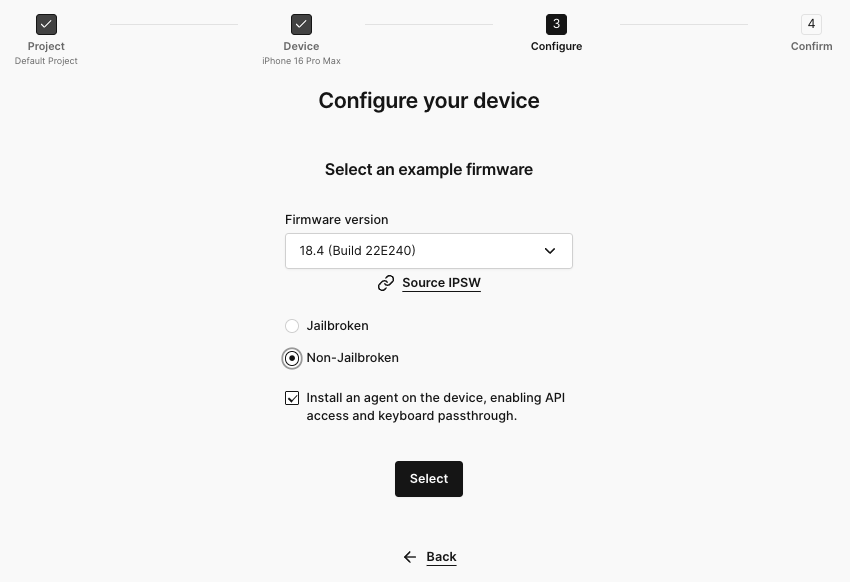
If you're spinning up an iPhone, you can also choose whether you'd like it to be jailbroken or not.
Lastly, let's confirm our settings. Note that the Device name field is optional, and the name does not have to be unique. We generate a unique name for you by default.
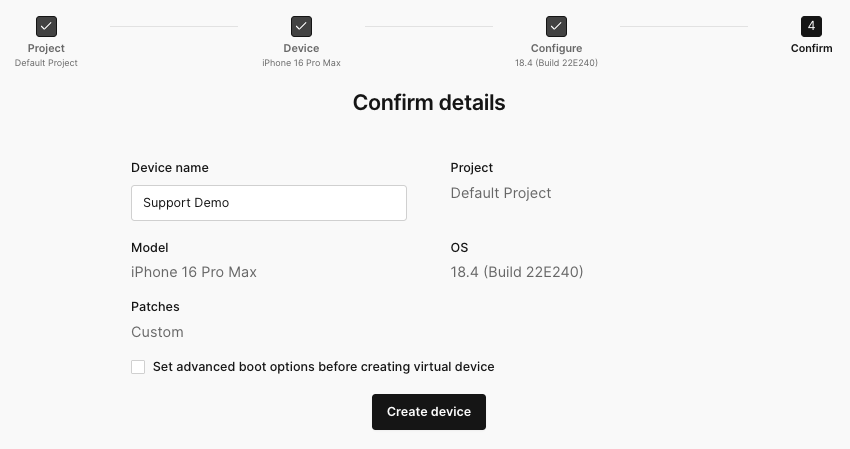
Once you've made your selections, you can click the Create device button. You've just created your first virtual device!
Device is Setting Up
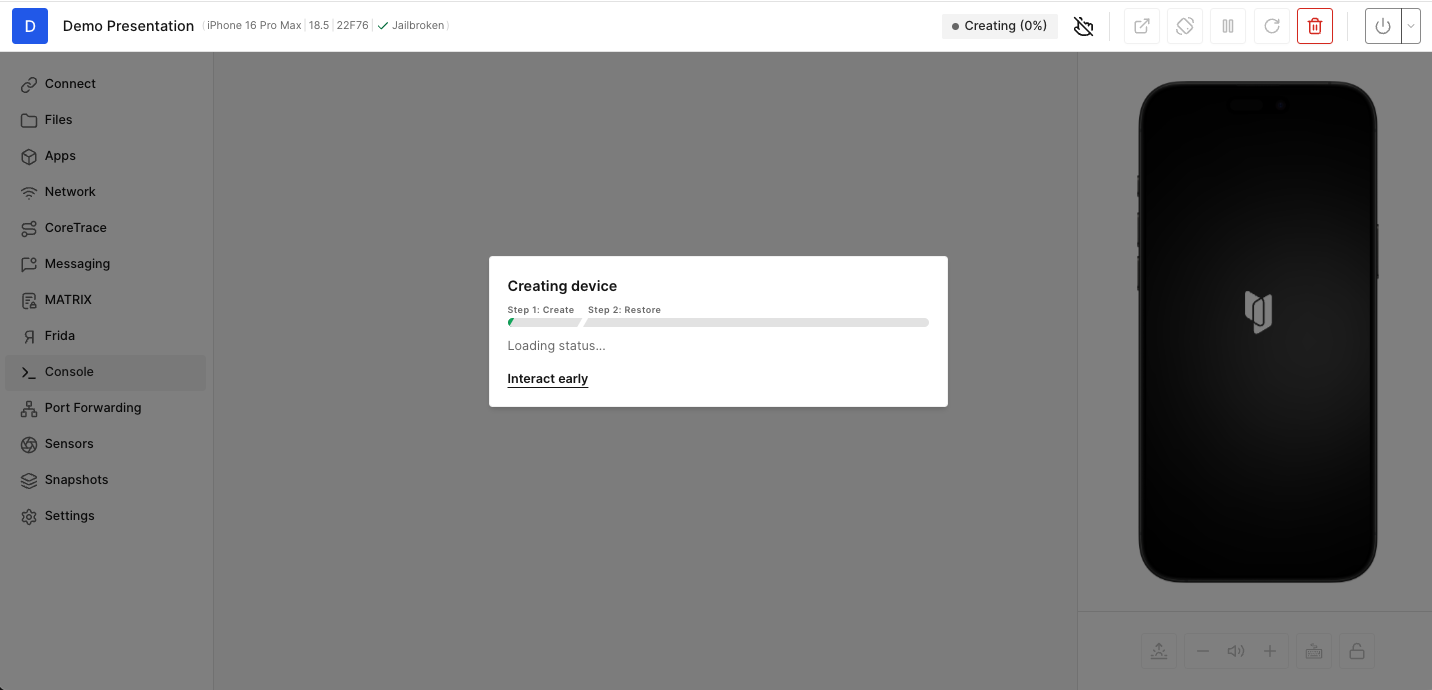
Once you click Create Device, you will be taken to the Device page, where you will see a progress bar as the device is being set up. You will notice that the workspace area is greyed out and a progress bar is shown in the center. On iPhones, you might notice that the device is in no touch mode at first. You might see a no touch icon ![]() in the top icons bar, right above the device you are creating.
in the top icons bar, right above the device you are creating.
Interact Early
While an iOS device is being created you may need to interact early for troubleshooting purposes if a device failed to start properly. You may also want to interact early to add modifications to the device. To do this, you just have to click the Interact early link in the progress bar.

You will then see a pop-up that wants you to confirm that you want to Interact early with the device during the Set Up process.
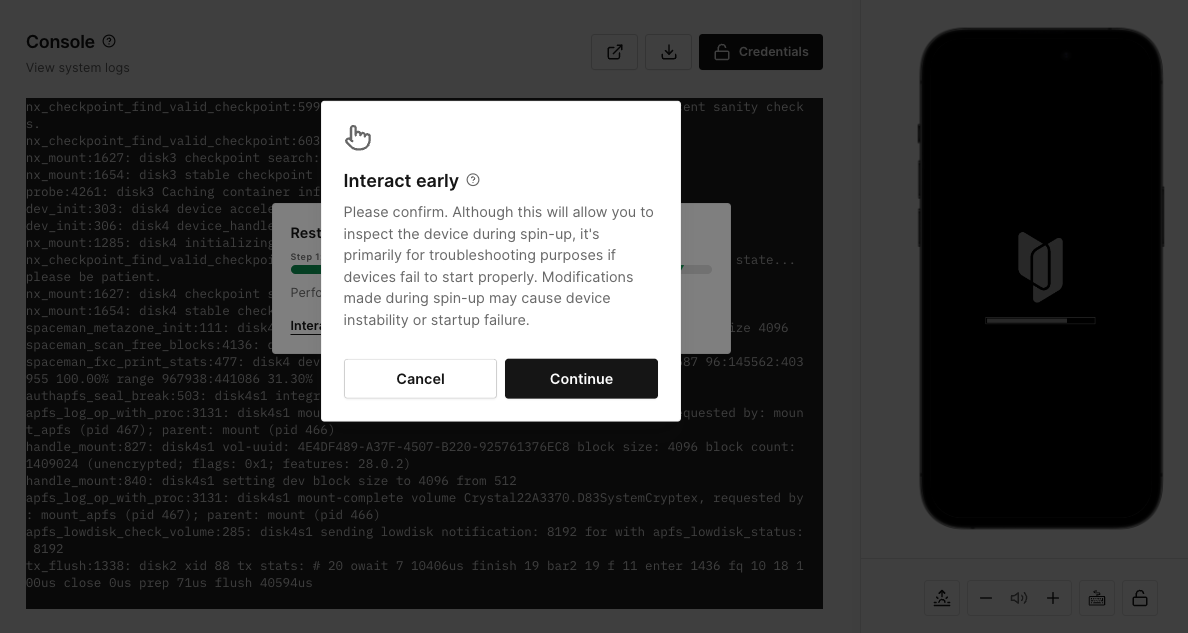
If you Interact early with the device, the device will not be added to your Rapid start devices collection. Also by interacting early you may cause device instability and Start up failures.
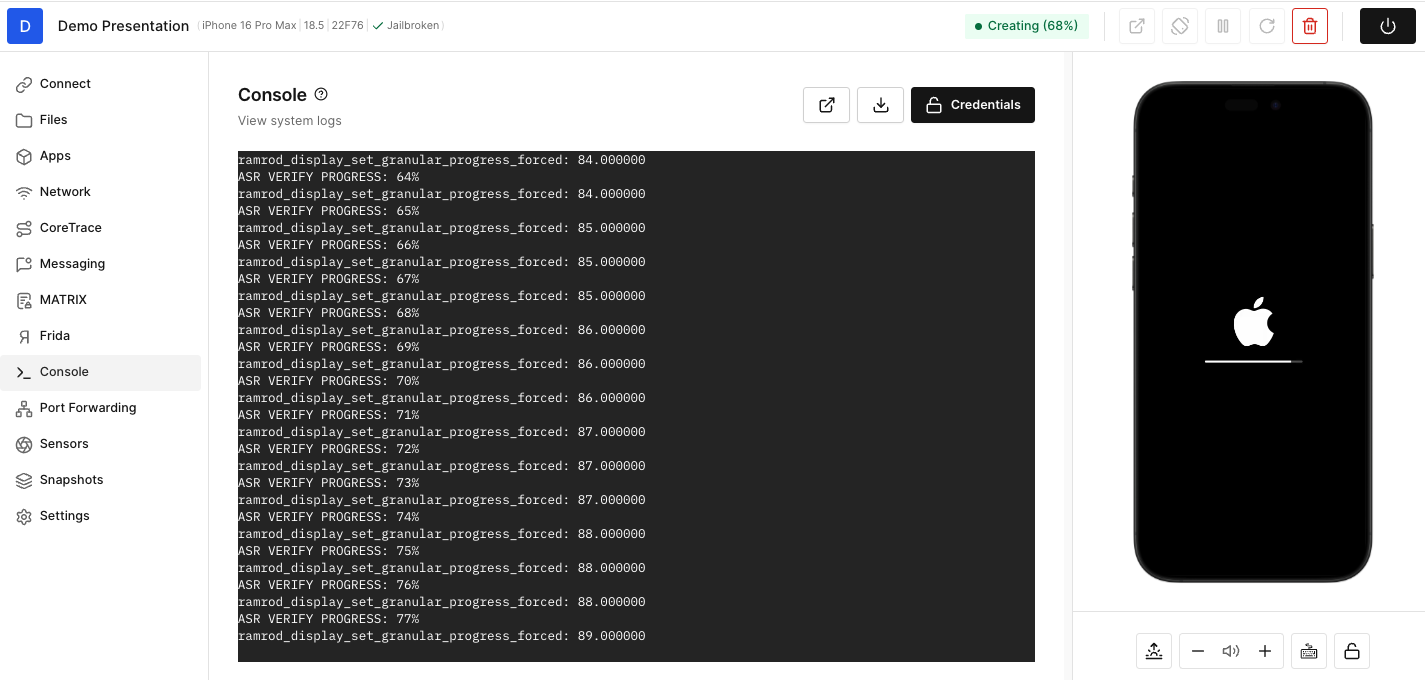
Once you have confirmed that you would like to Interact early with the device, you will gain access to the UI. Depending on when you click the Interact early link, you may not see or have access to all of the tools' functionality. These tools will become available as the device continues through the setup process.
Use the Device
Some tools have license restrictions and may not be available with all license types.
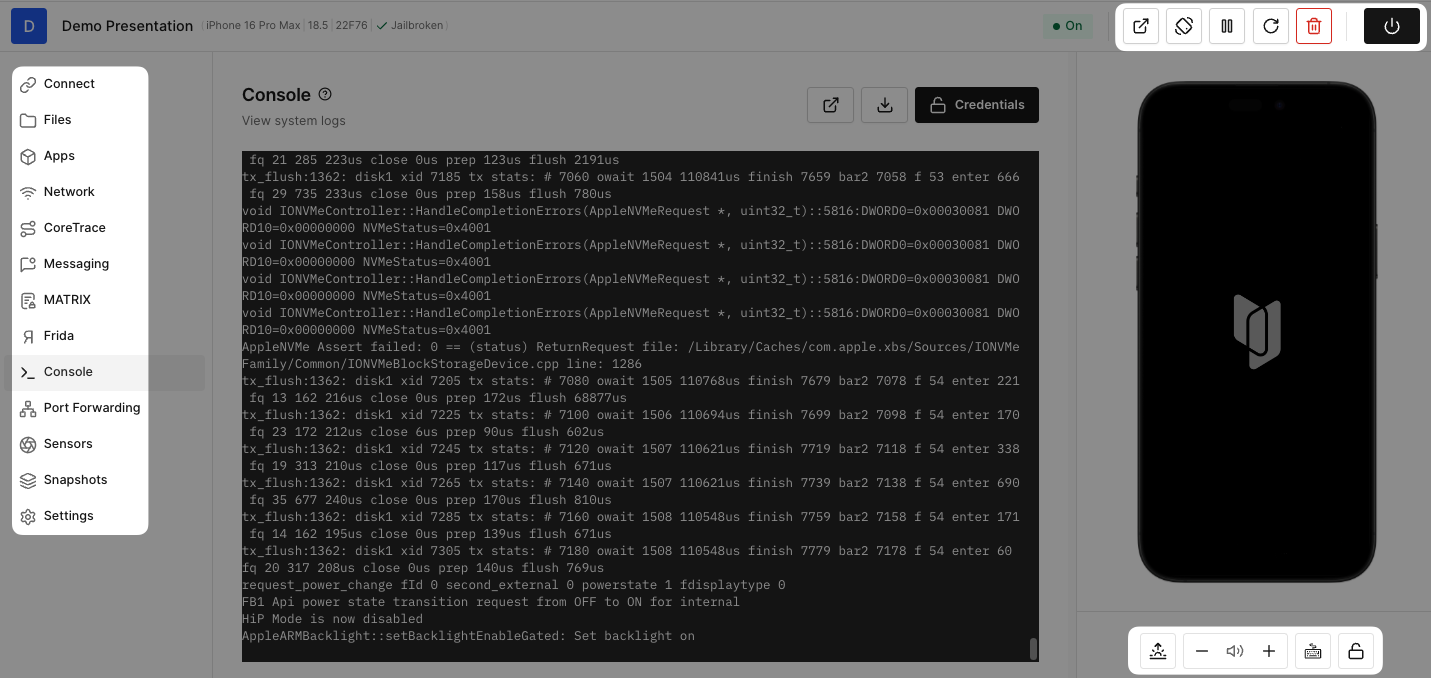
When the device setup is in its final stages, you'll get access to the UI. Feel free to familiarize yourself with the available tabs and tools. On top are the buttons that let you control the virtual device state: snapshot, pause, reboot, delete (maybe don't hit this one just yet!), and power. To the left are the virtual device screen and its corresponding hardware buttons.
The device screen will not connect automatically, so once the device is ready, and you can see the Corellium logo, you can activate the display by clicking on the iPhone or Android screen. When your display is connected, you will see the device's home screen, and you will now be able to interact with the device by clicking on the display.
Note that while multiple users can interact with device tools like Apps and Console at the same time, only one user can connect to a particular device's screen at a time. If another user connects to a device's screen while you are viewing it, you will be disconnected.