Deploy and Distribute your iOS Applications with Xcode
To deploy applications to Xcode, you need to have USBFlux set up as well as being connected to the Corellium VPN. Please follow our other Xcode article that explains how to connect your virtual devices to Xcode.
To address high-level USBFlux issues on macOS, consider running the provided commands. By first terminating and then initiating the internal USBFlux processes, you can ensure the proper functioning of USBFlux.
#!/bin/bash

launchctl stop com.apple.usbmuxd
killall usbfluxd
echo "Initializing USB connection..."
launchctl start com.apple.usbmuxd
/Applications/USBFlux.app/Contents/Resources/usbfluxd
sleep 1
echo "Gathering a list of USB devices..."
sleep 3
idevice_id
Build the Application Directly to the Device
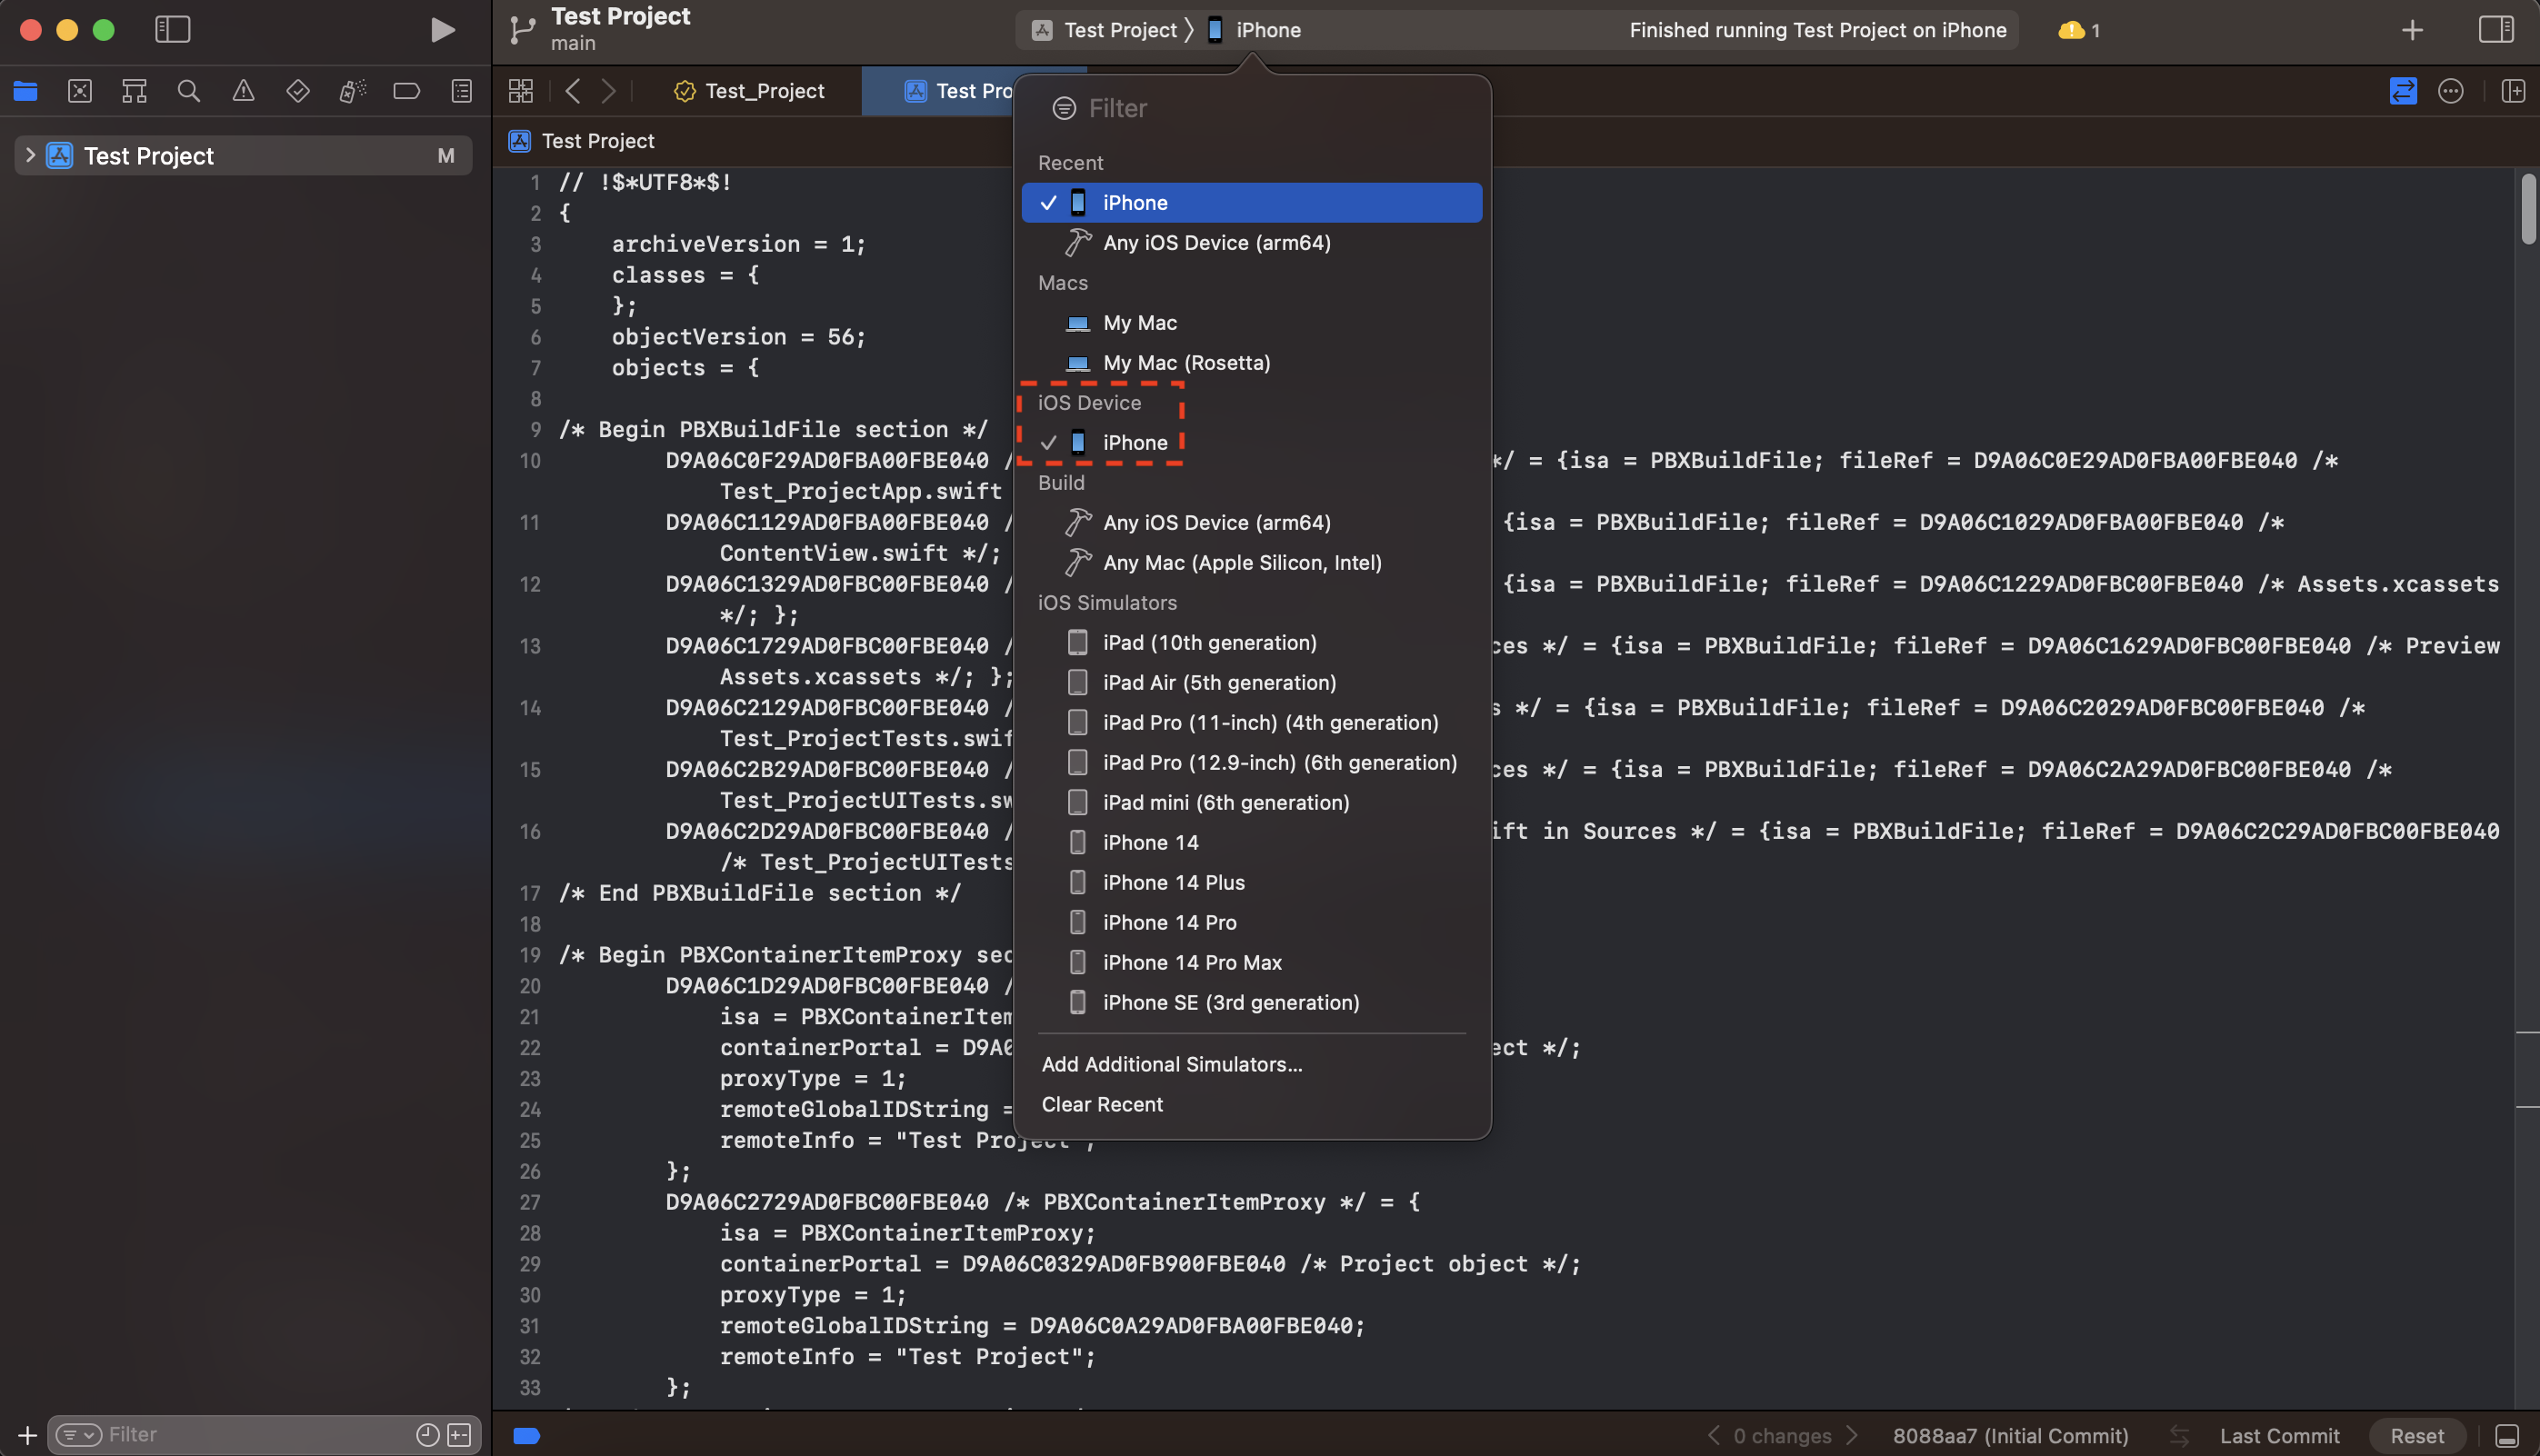
Without having to choose a distribution method, you can build the Xcode application directly to the device.

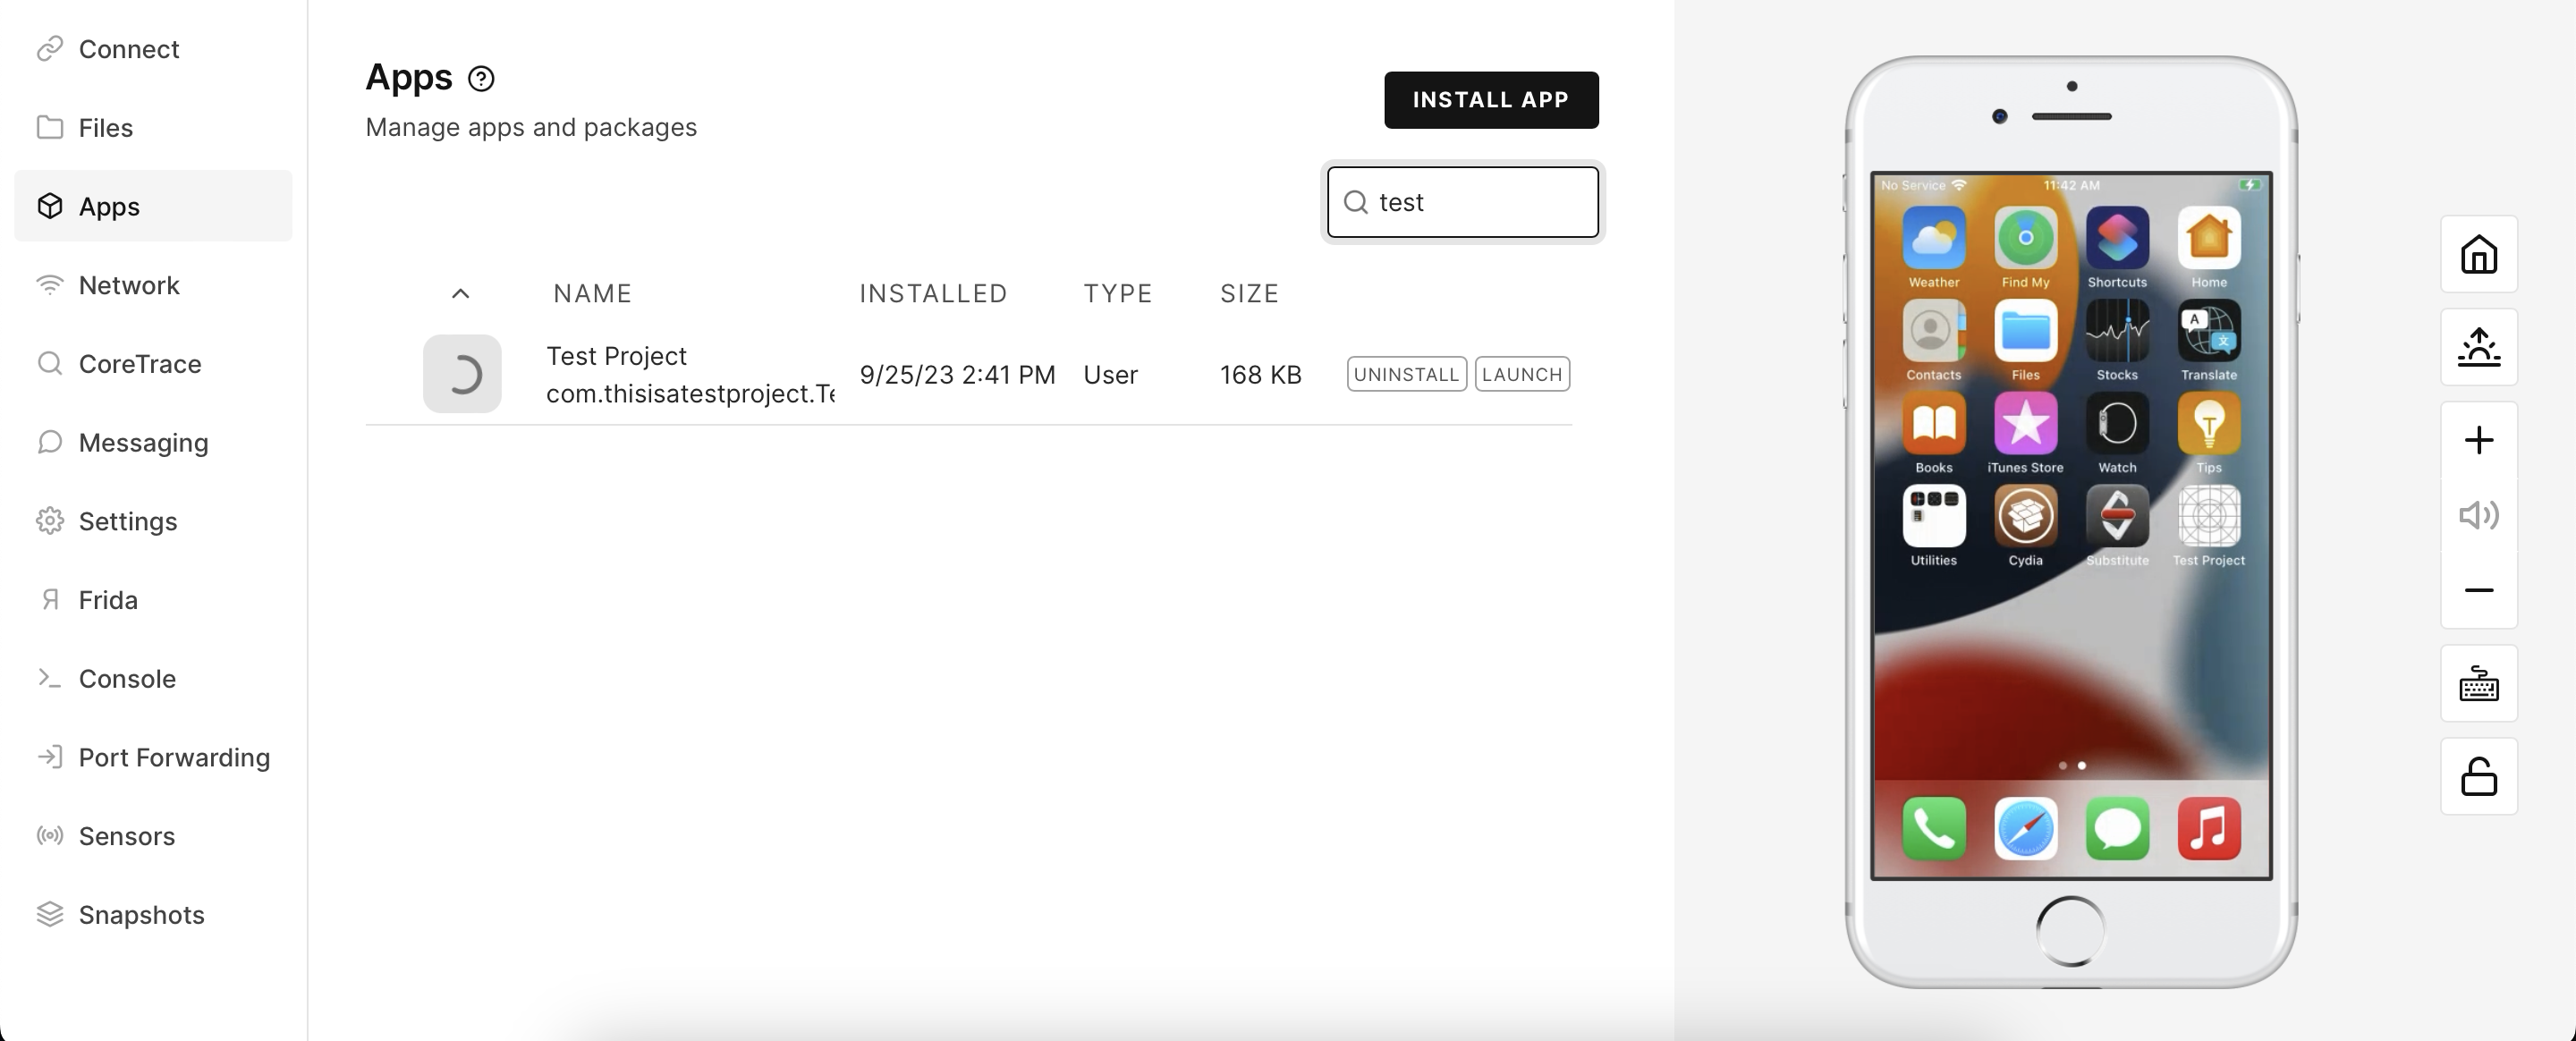
You can now start the active scheme. Xcode will go through the build process and you should see the application appear on the device.

Distribute your Application to Corellium Devices
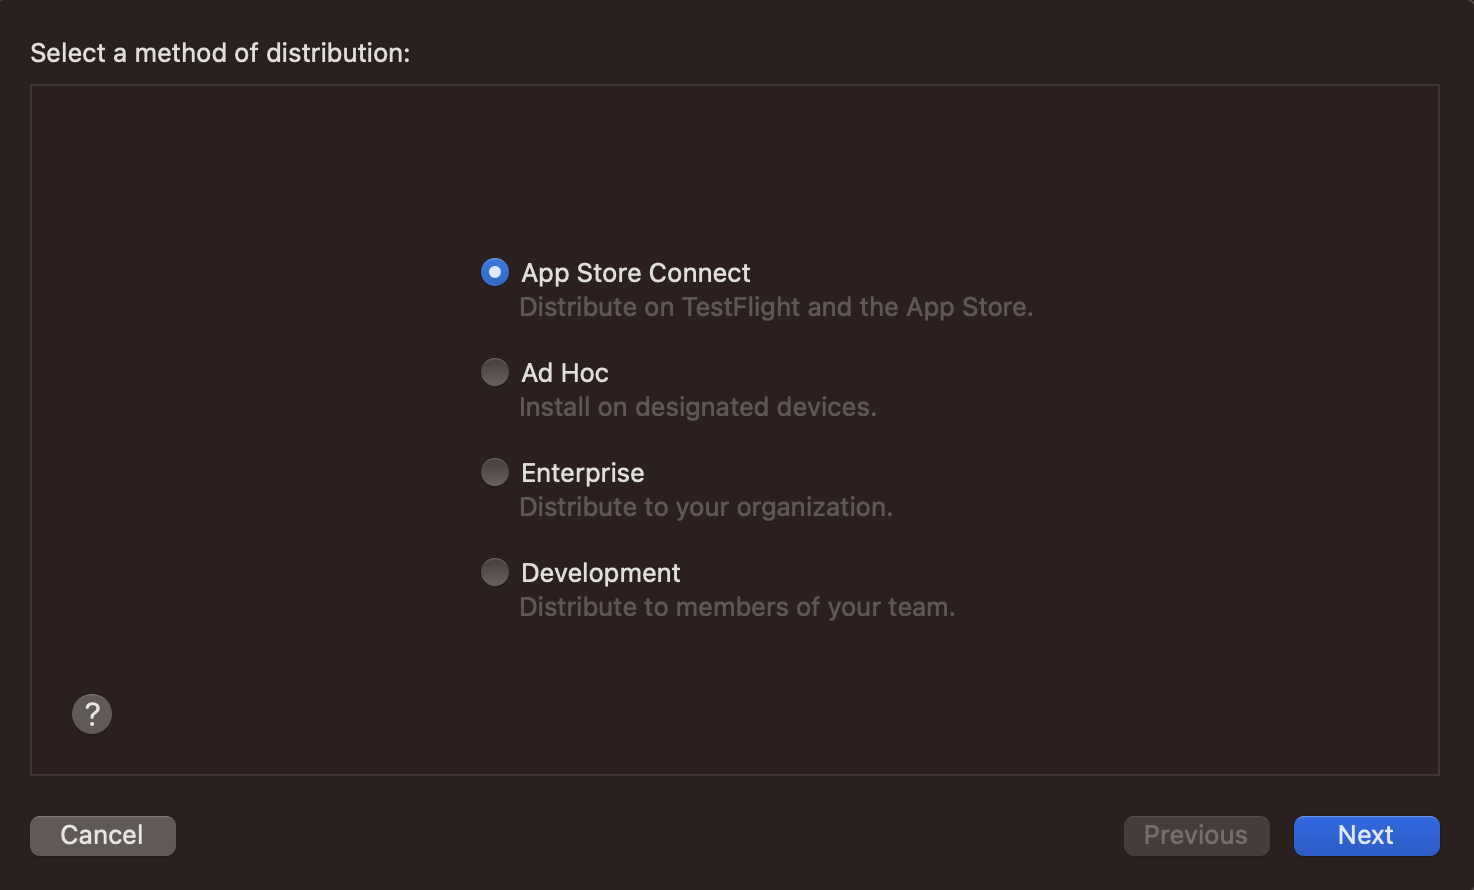
To prepare your app for distribution, the initial step involves archiving it. You can achieve this by navigating to the "Product" menu in Xcode and selecting "Archive". After selecting "Distribute App" you are met with four different distribution methods to choose from.

-
App Store Connect: Distributing your application to the App Store.
-
Ad Hoc: Register UDIDs on your Apple Developer Account that the provisioning profile uses in order to run the app on the registered devices.
-
Enterprise: Used to distribute apps internally within your Apple Developer Enterprise Program.
-
Development Similar to Ad Hoc, but all your team's devices will work.
In most situations, opting for the Ad Hoc distribution method is the best choice when providing the app to penetration testers for security testing. This approach enables the utilization of a single registered UDID on multiple Corellium devices as well as not sharing the source code of your application.