Connected Network
The Connected Network section allows you to view and modify the Wi-Fi SSID and Wi-Fi MAC address of iOS devices.

Configure the Wi-Fi SSID
The Wi-Fi SSID is the name of the Wi-Fi network your device is connected to. This is the name that appears when you search for available Wi-Fi networks on your device.
You can configure the connected SSID on both new and existing iOS devices.
Wi-Fi SSID on a New Device
-
During the initial iOS device creation process, choose to
Set advanced boot optionson the final confirmation step. -
Click on Connected Network.
-
In the Wi-Fi SSID field, enter the desired SSID. For our example, we will use
MyCustomSSID.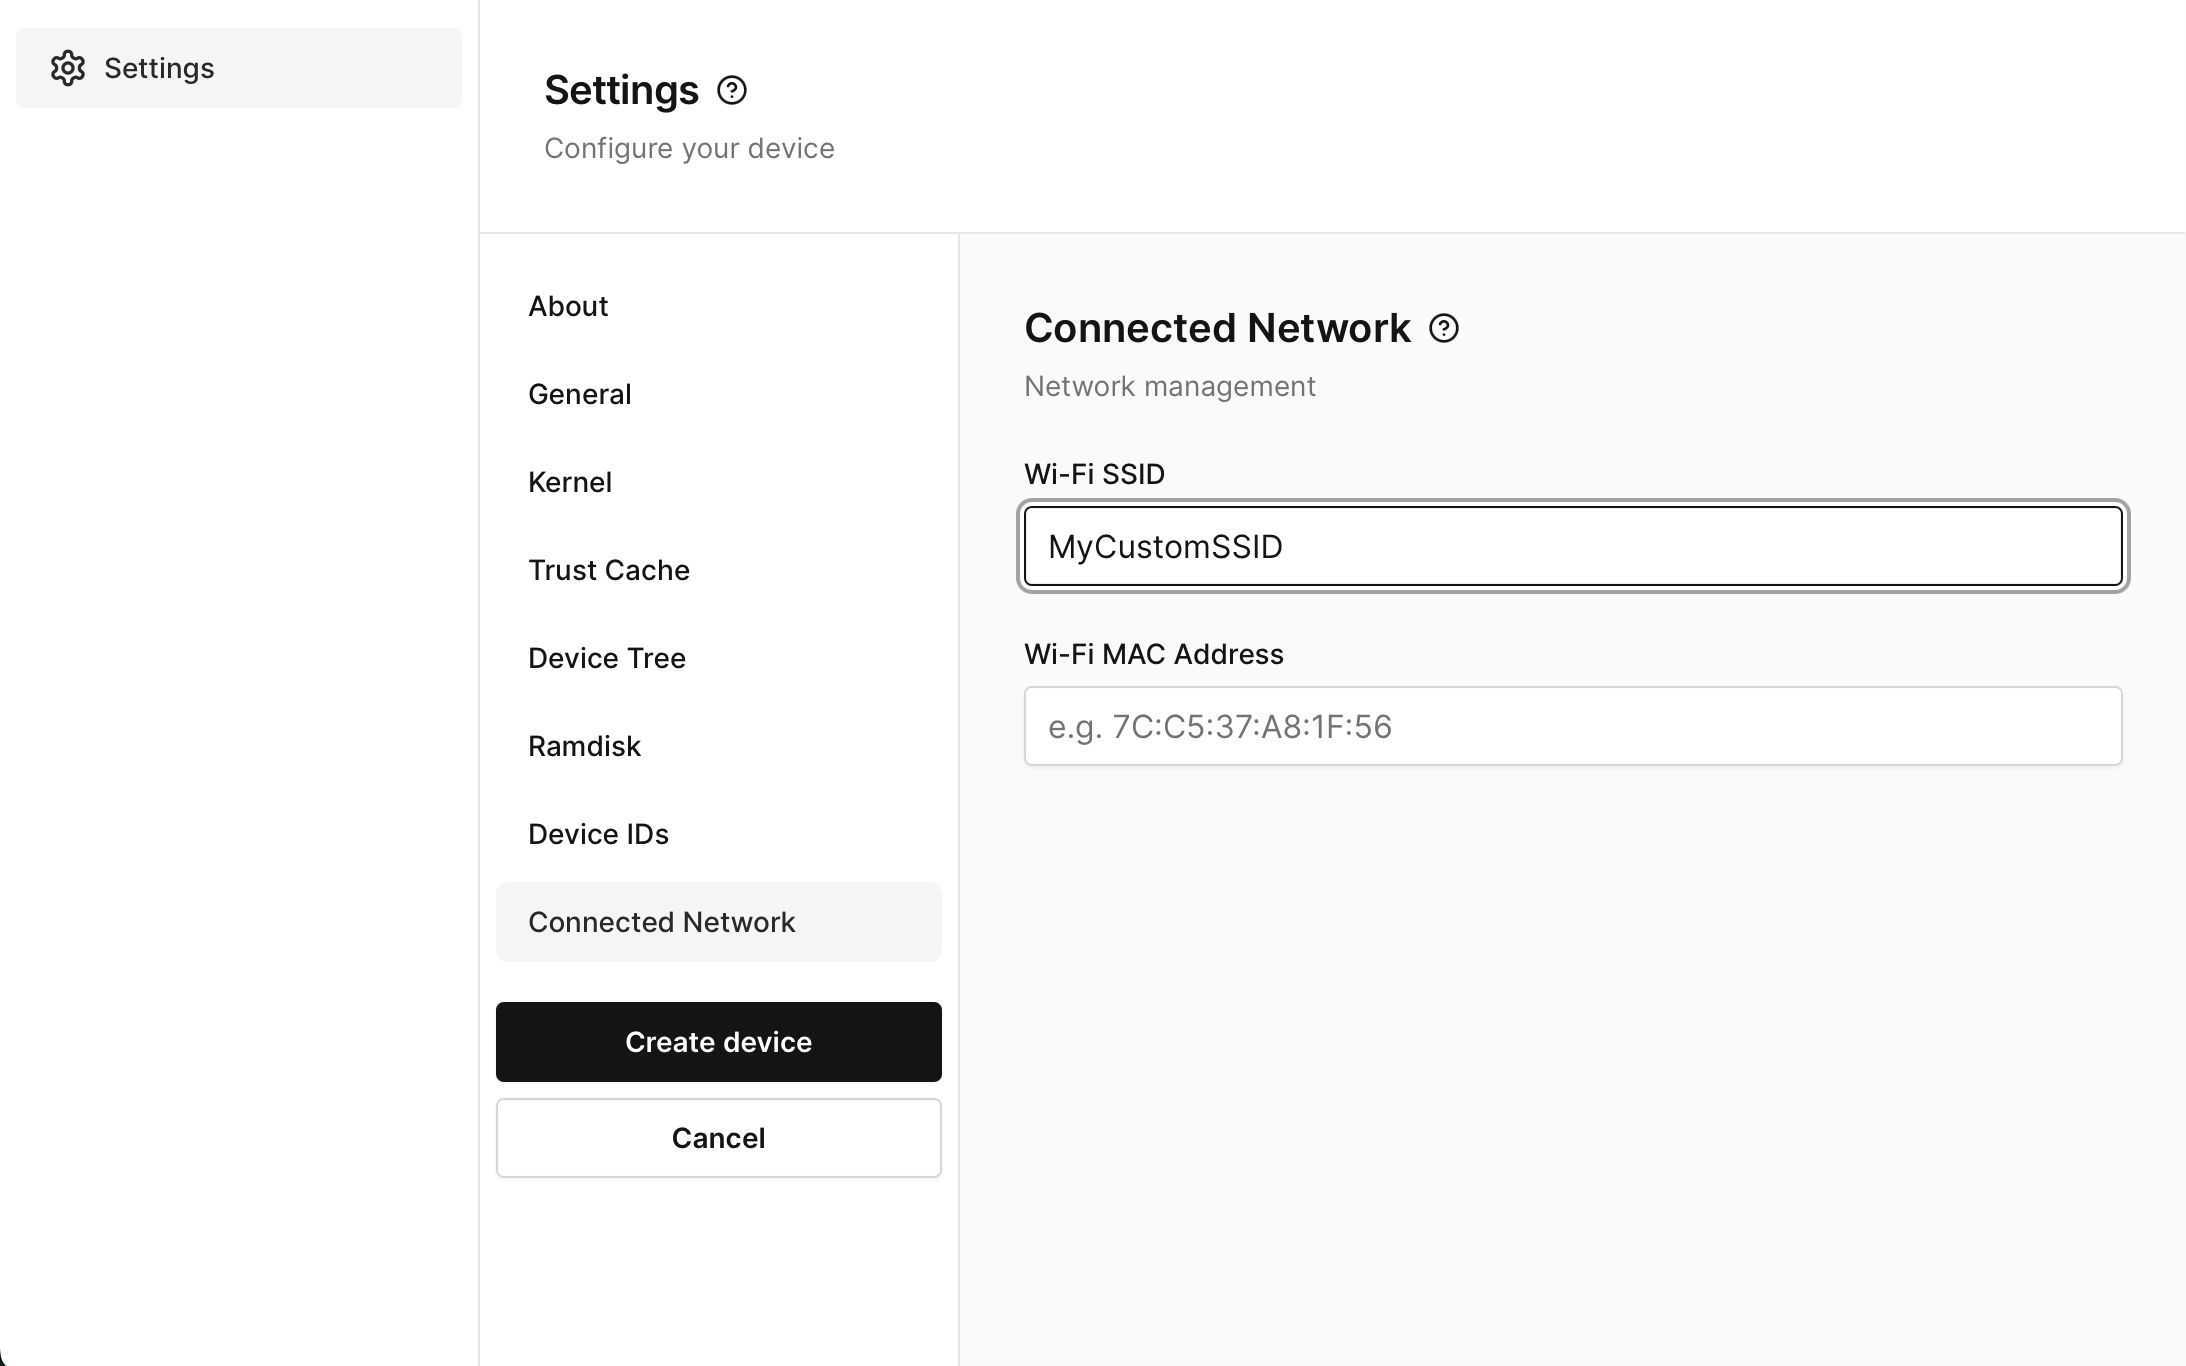
-
Click Create Device to apply the changes.
-
Wait for the device to create and automatically connect to the new SSID.
Wi-Fi SSID on an Existing Device
-
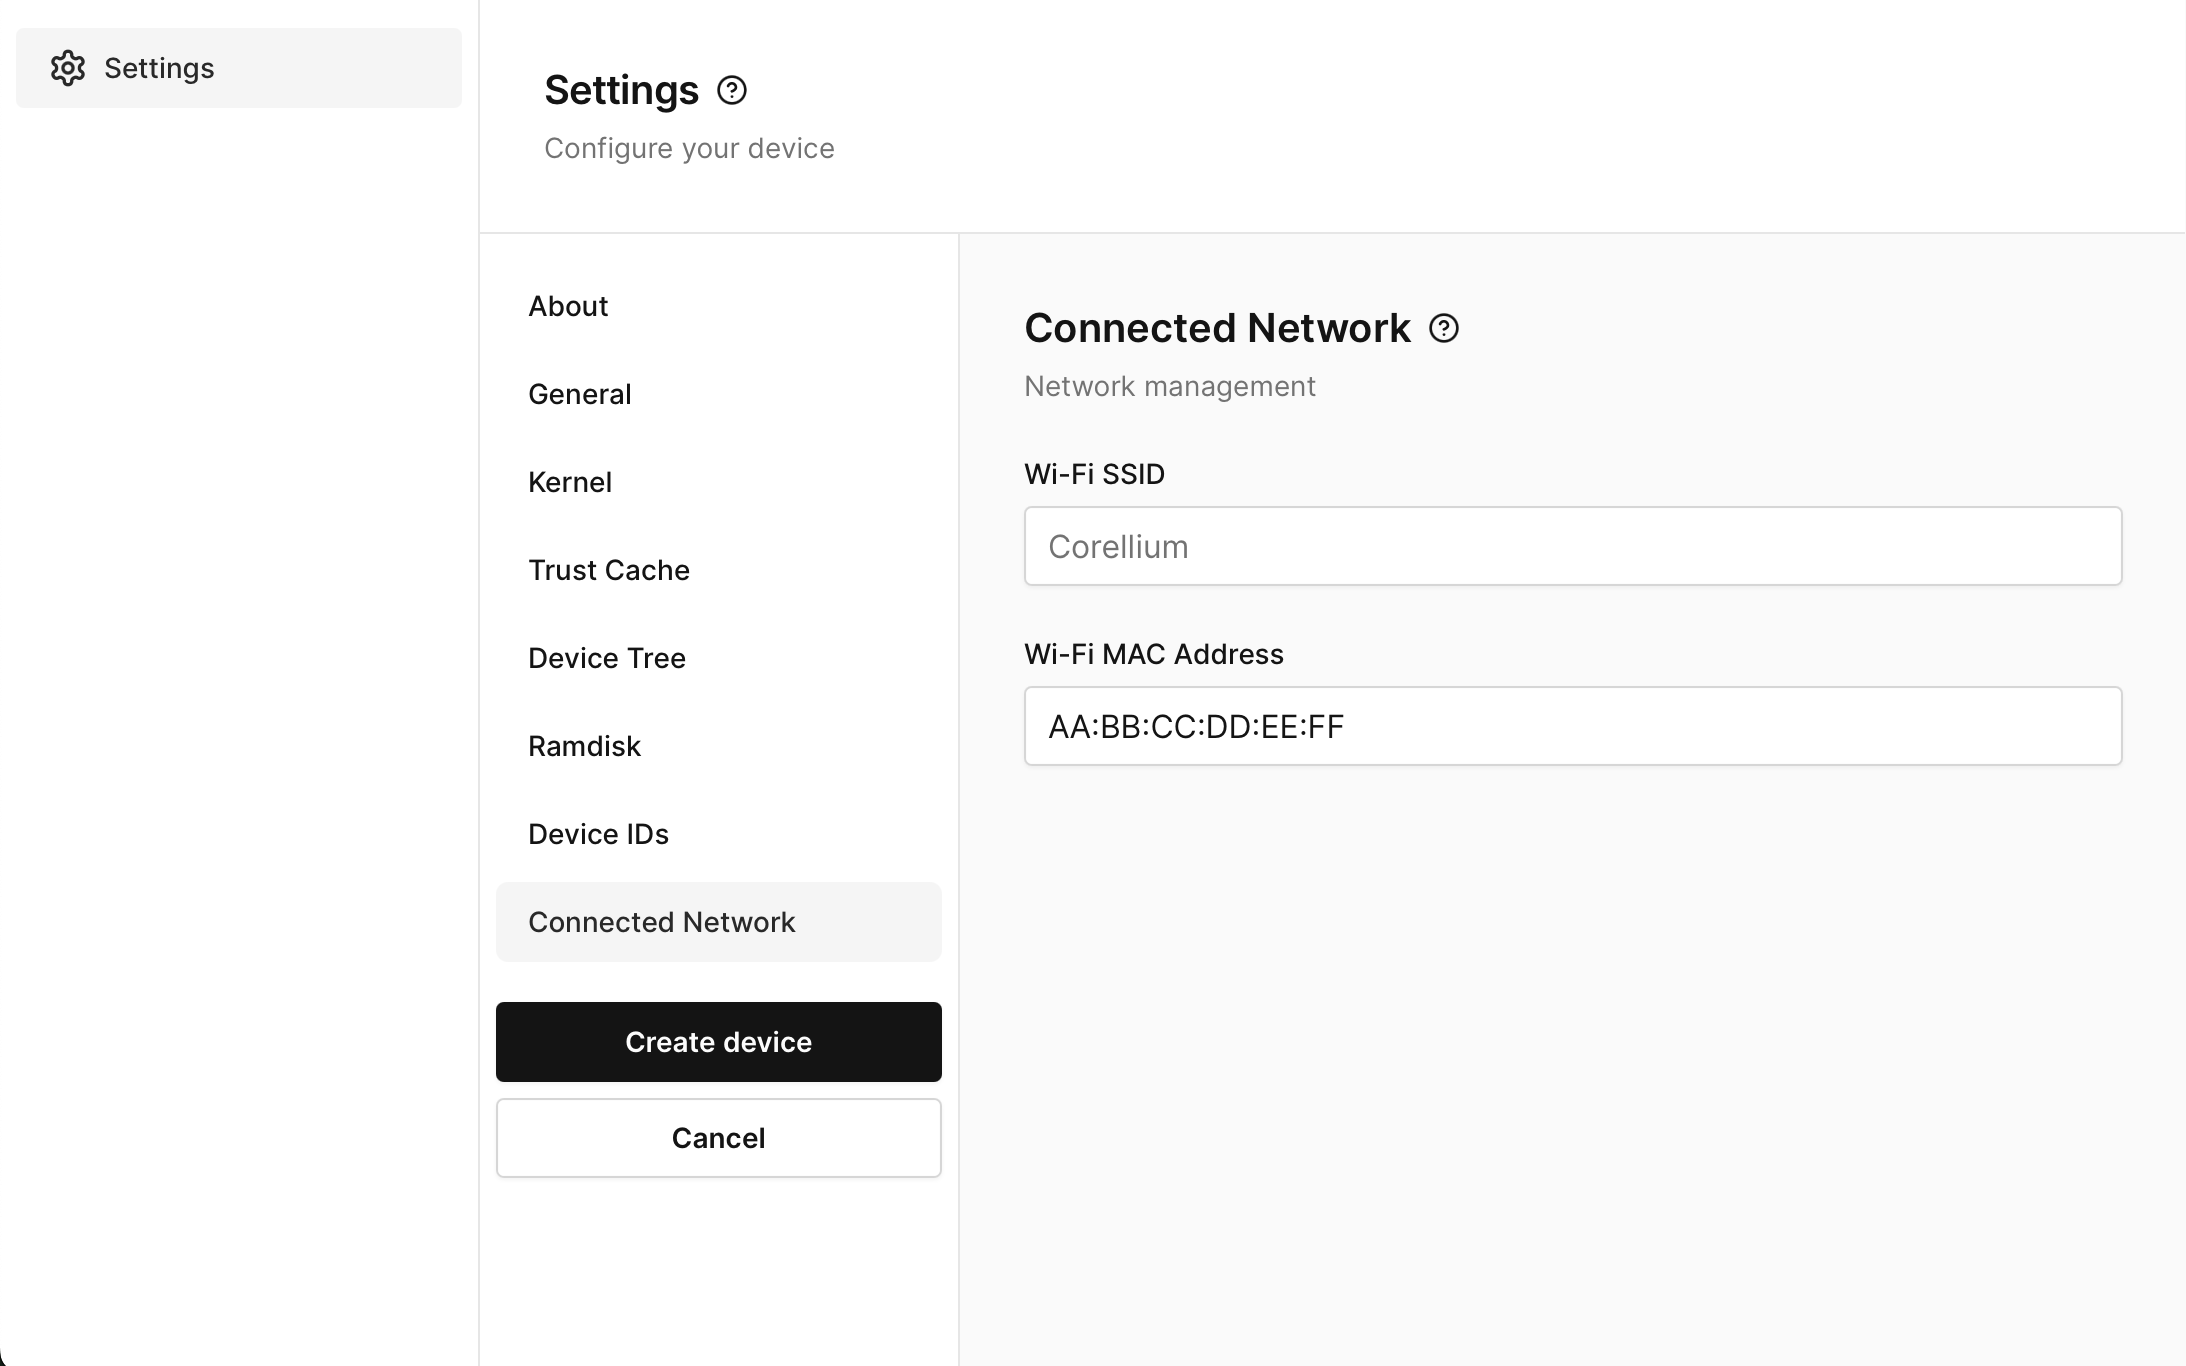
Navigate to the Settings tab then click on Connected Network.
-
In the Wi-Fi SSID field, enter the desired SSID.
-
Click SAVE & REBOOT to apply the changes.
-
Wait for the device to reboot and automatically connect to the new SSID.
Configure the Wi-Fi MAC Address
The Wi-Fi MAC address is a unique identifier assigned to the network interface of a device. It is used to identify the device on the network.
You can configure the Wi-Fi MAC address on both new and existing iOS devices.
Be sure to avoid using the same MAC address on multiple devices in the same project, as this can cause communication issues.
Wi-Fi MAC Address on a New Device
-
During the initial iOS device creation process, choose to
Set advanced boot optionson the final confirmation step. -
Click on Connected Network.
-
In the Wi-Fi MAC Address field, enter the desired MAC address.
-
Click Create Device to apply the changes.
-
Wait for the device to create and automatically connect using the new MAC address.
Wi-Fi MAC Address on an Existing Device
-
Navigate to the Settings tab then click on Connected Network.
-
In the Wi-Fi MAC Address field, enter the desired MAC address.
-
Click SAVE & REBOOT to apply the changes.
-
Wait for the device to reboot and automatically connect using the new MAC address.
Remove a Custom MAC Address
After setting a custom Mac you can remove the configuration from the Connected Network page by clearing the value and clicking SAVE & REBOOT. The system will assign a new MAC address to the device.